In part four of the series I discussed securing the serverless REST API serving the collected IoT data from the security camera devices.
In this post I will cover deploying the web application that uses the REST API.
As a review, the image below provides an overview of the serverless web application that will be implemented using this REST API:
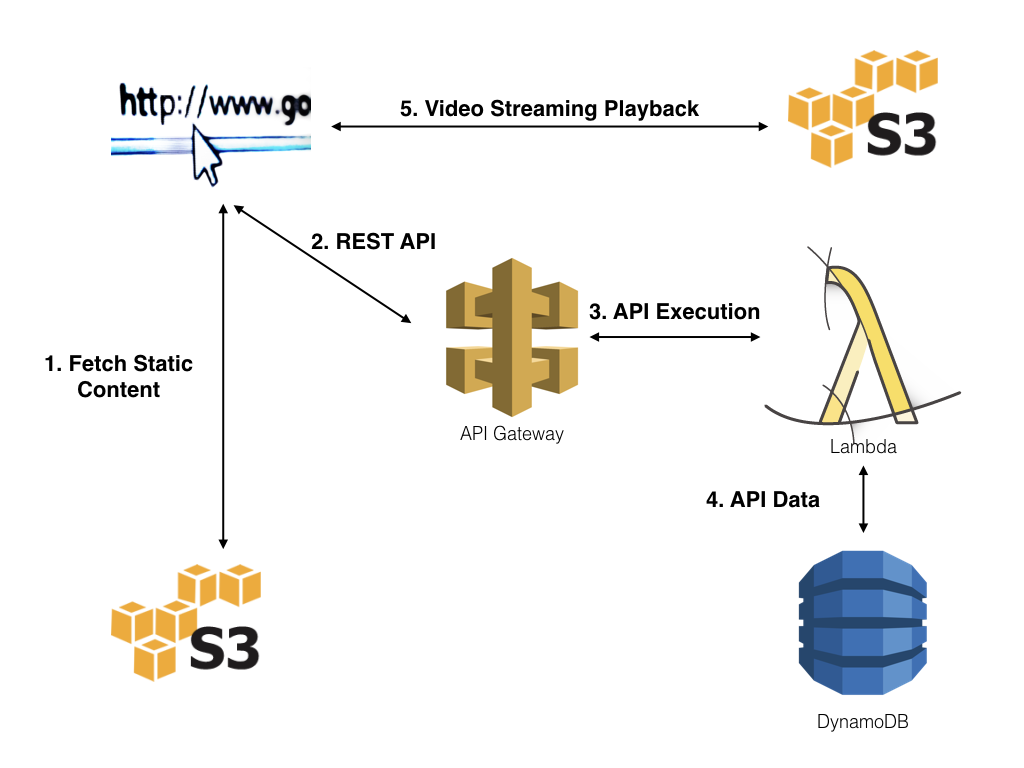
Serverless Web Application
In this post we will set up a secure web application which allows an authenticated user to list and view the security videos. All of this will be accomplished without the need for a server.
Step 1: The web application
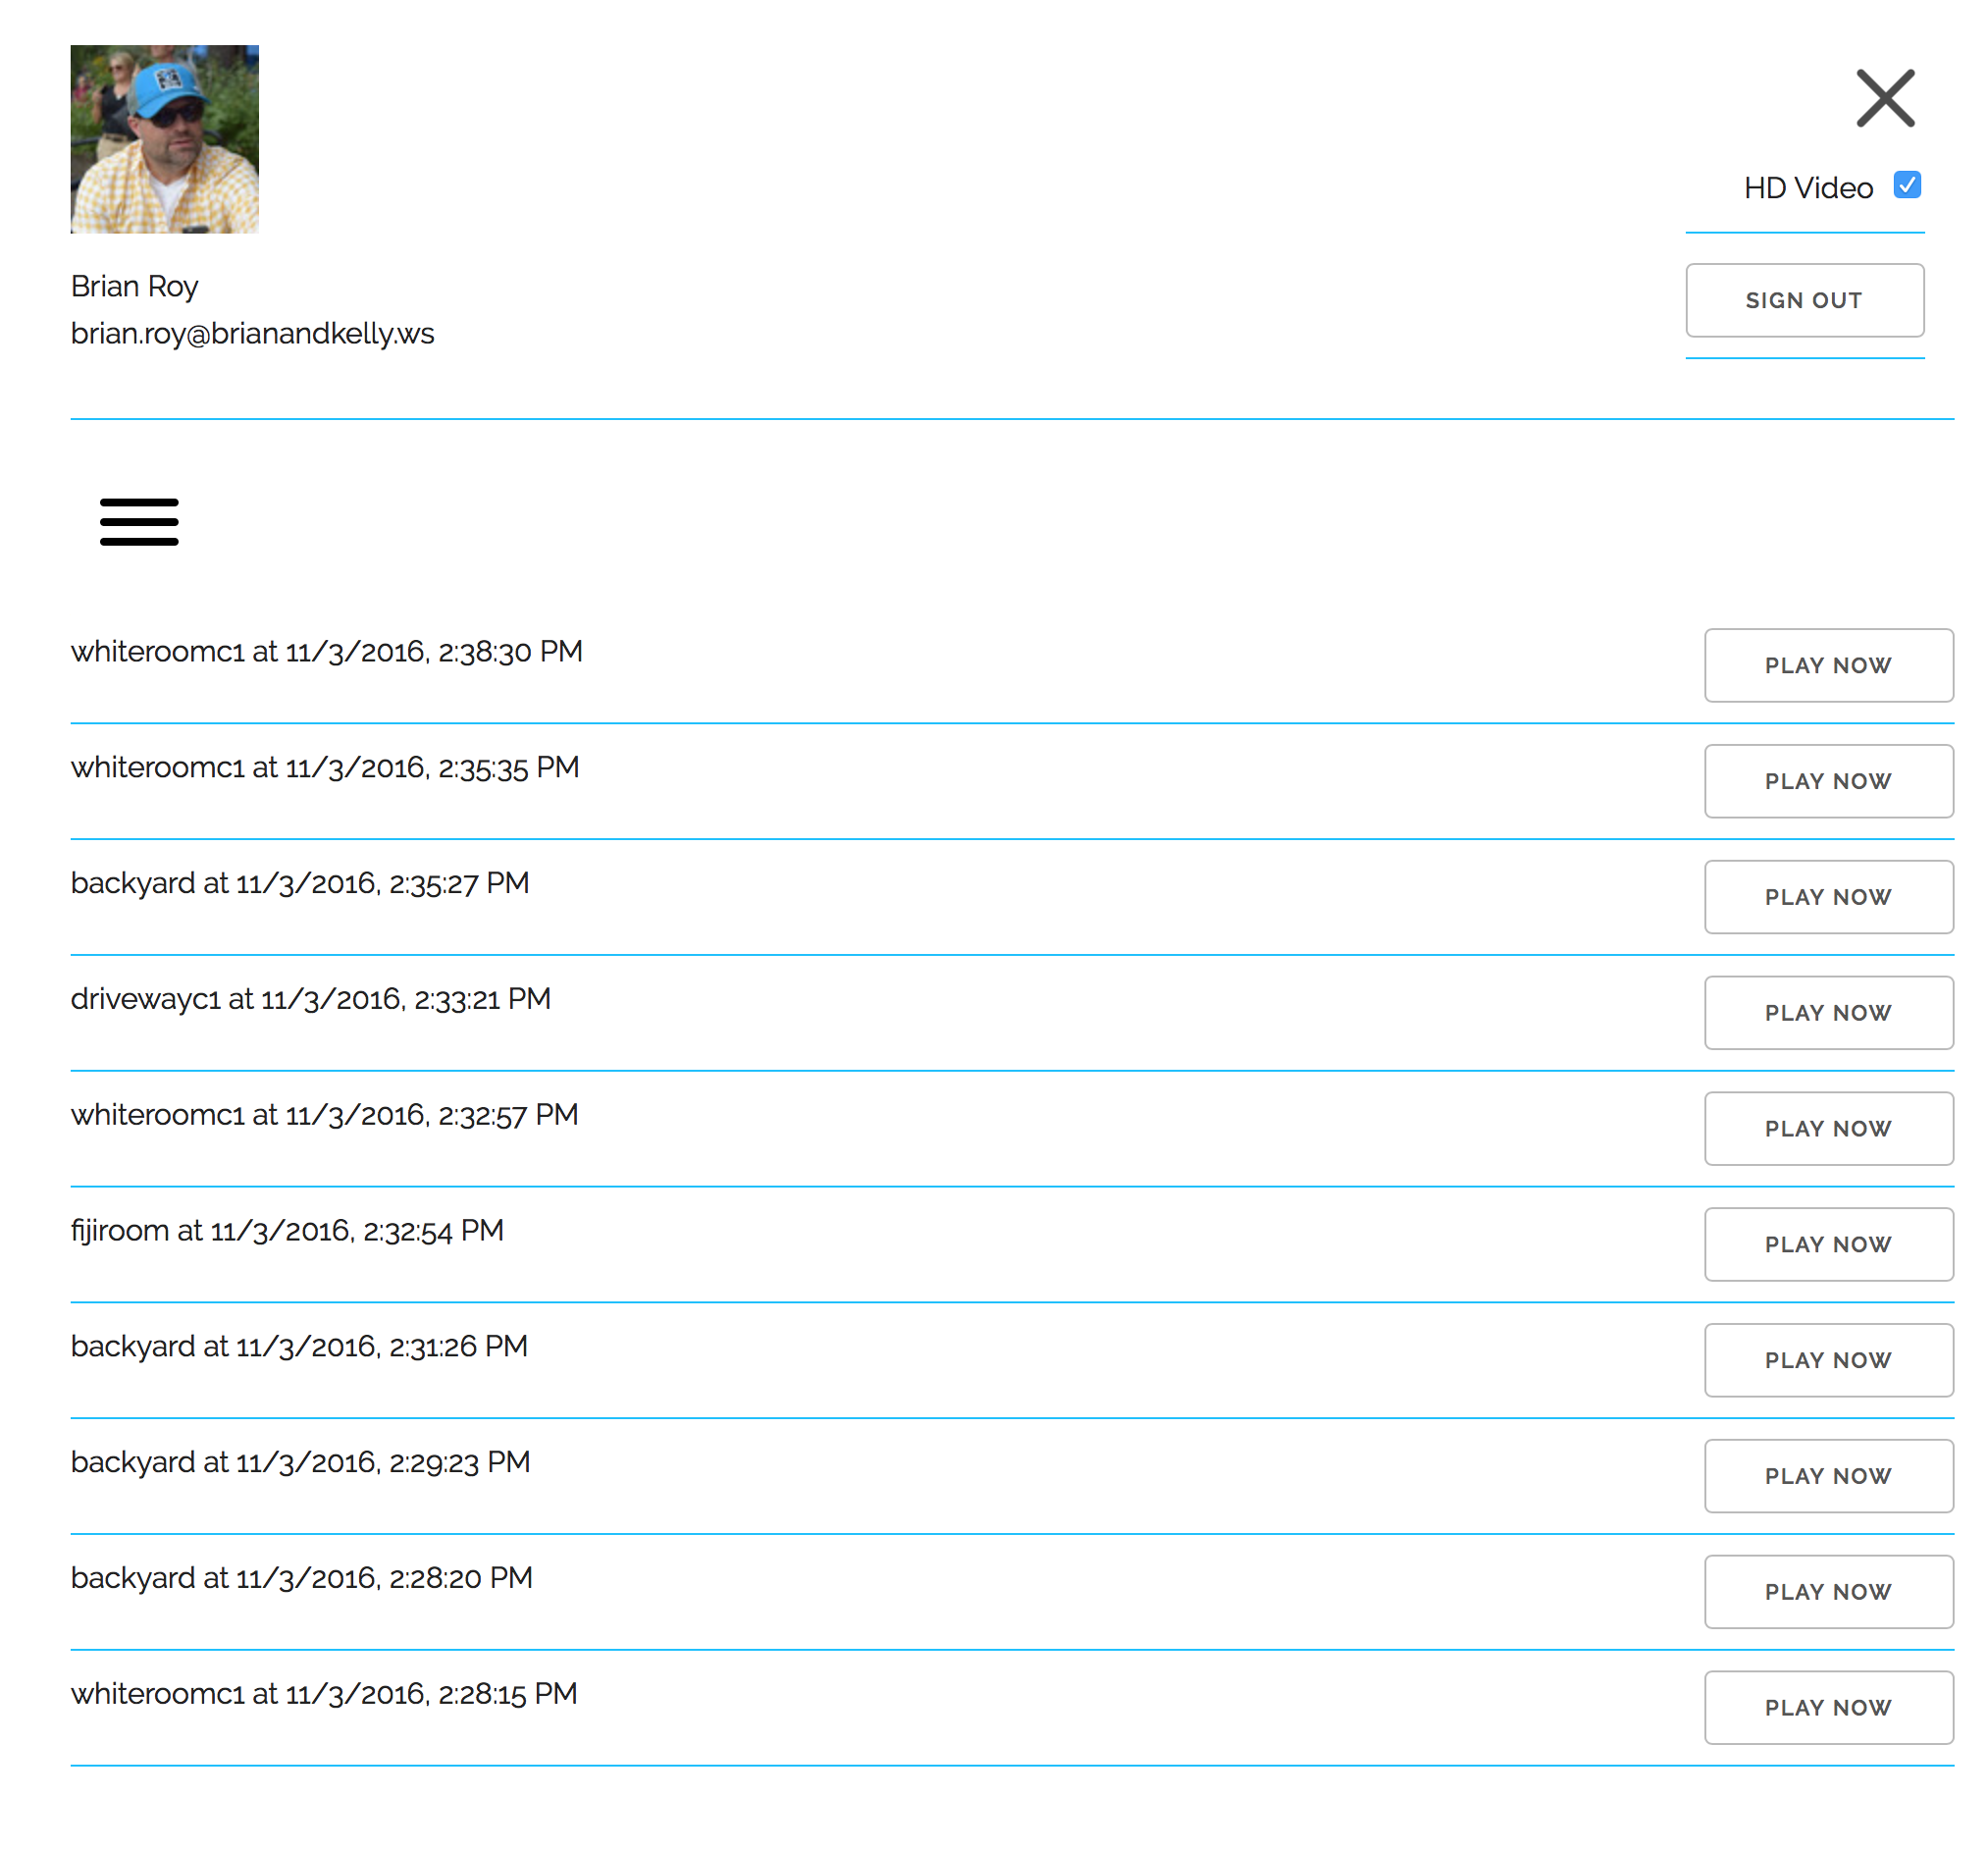
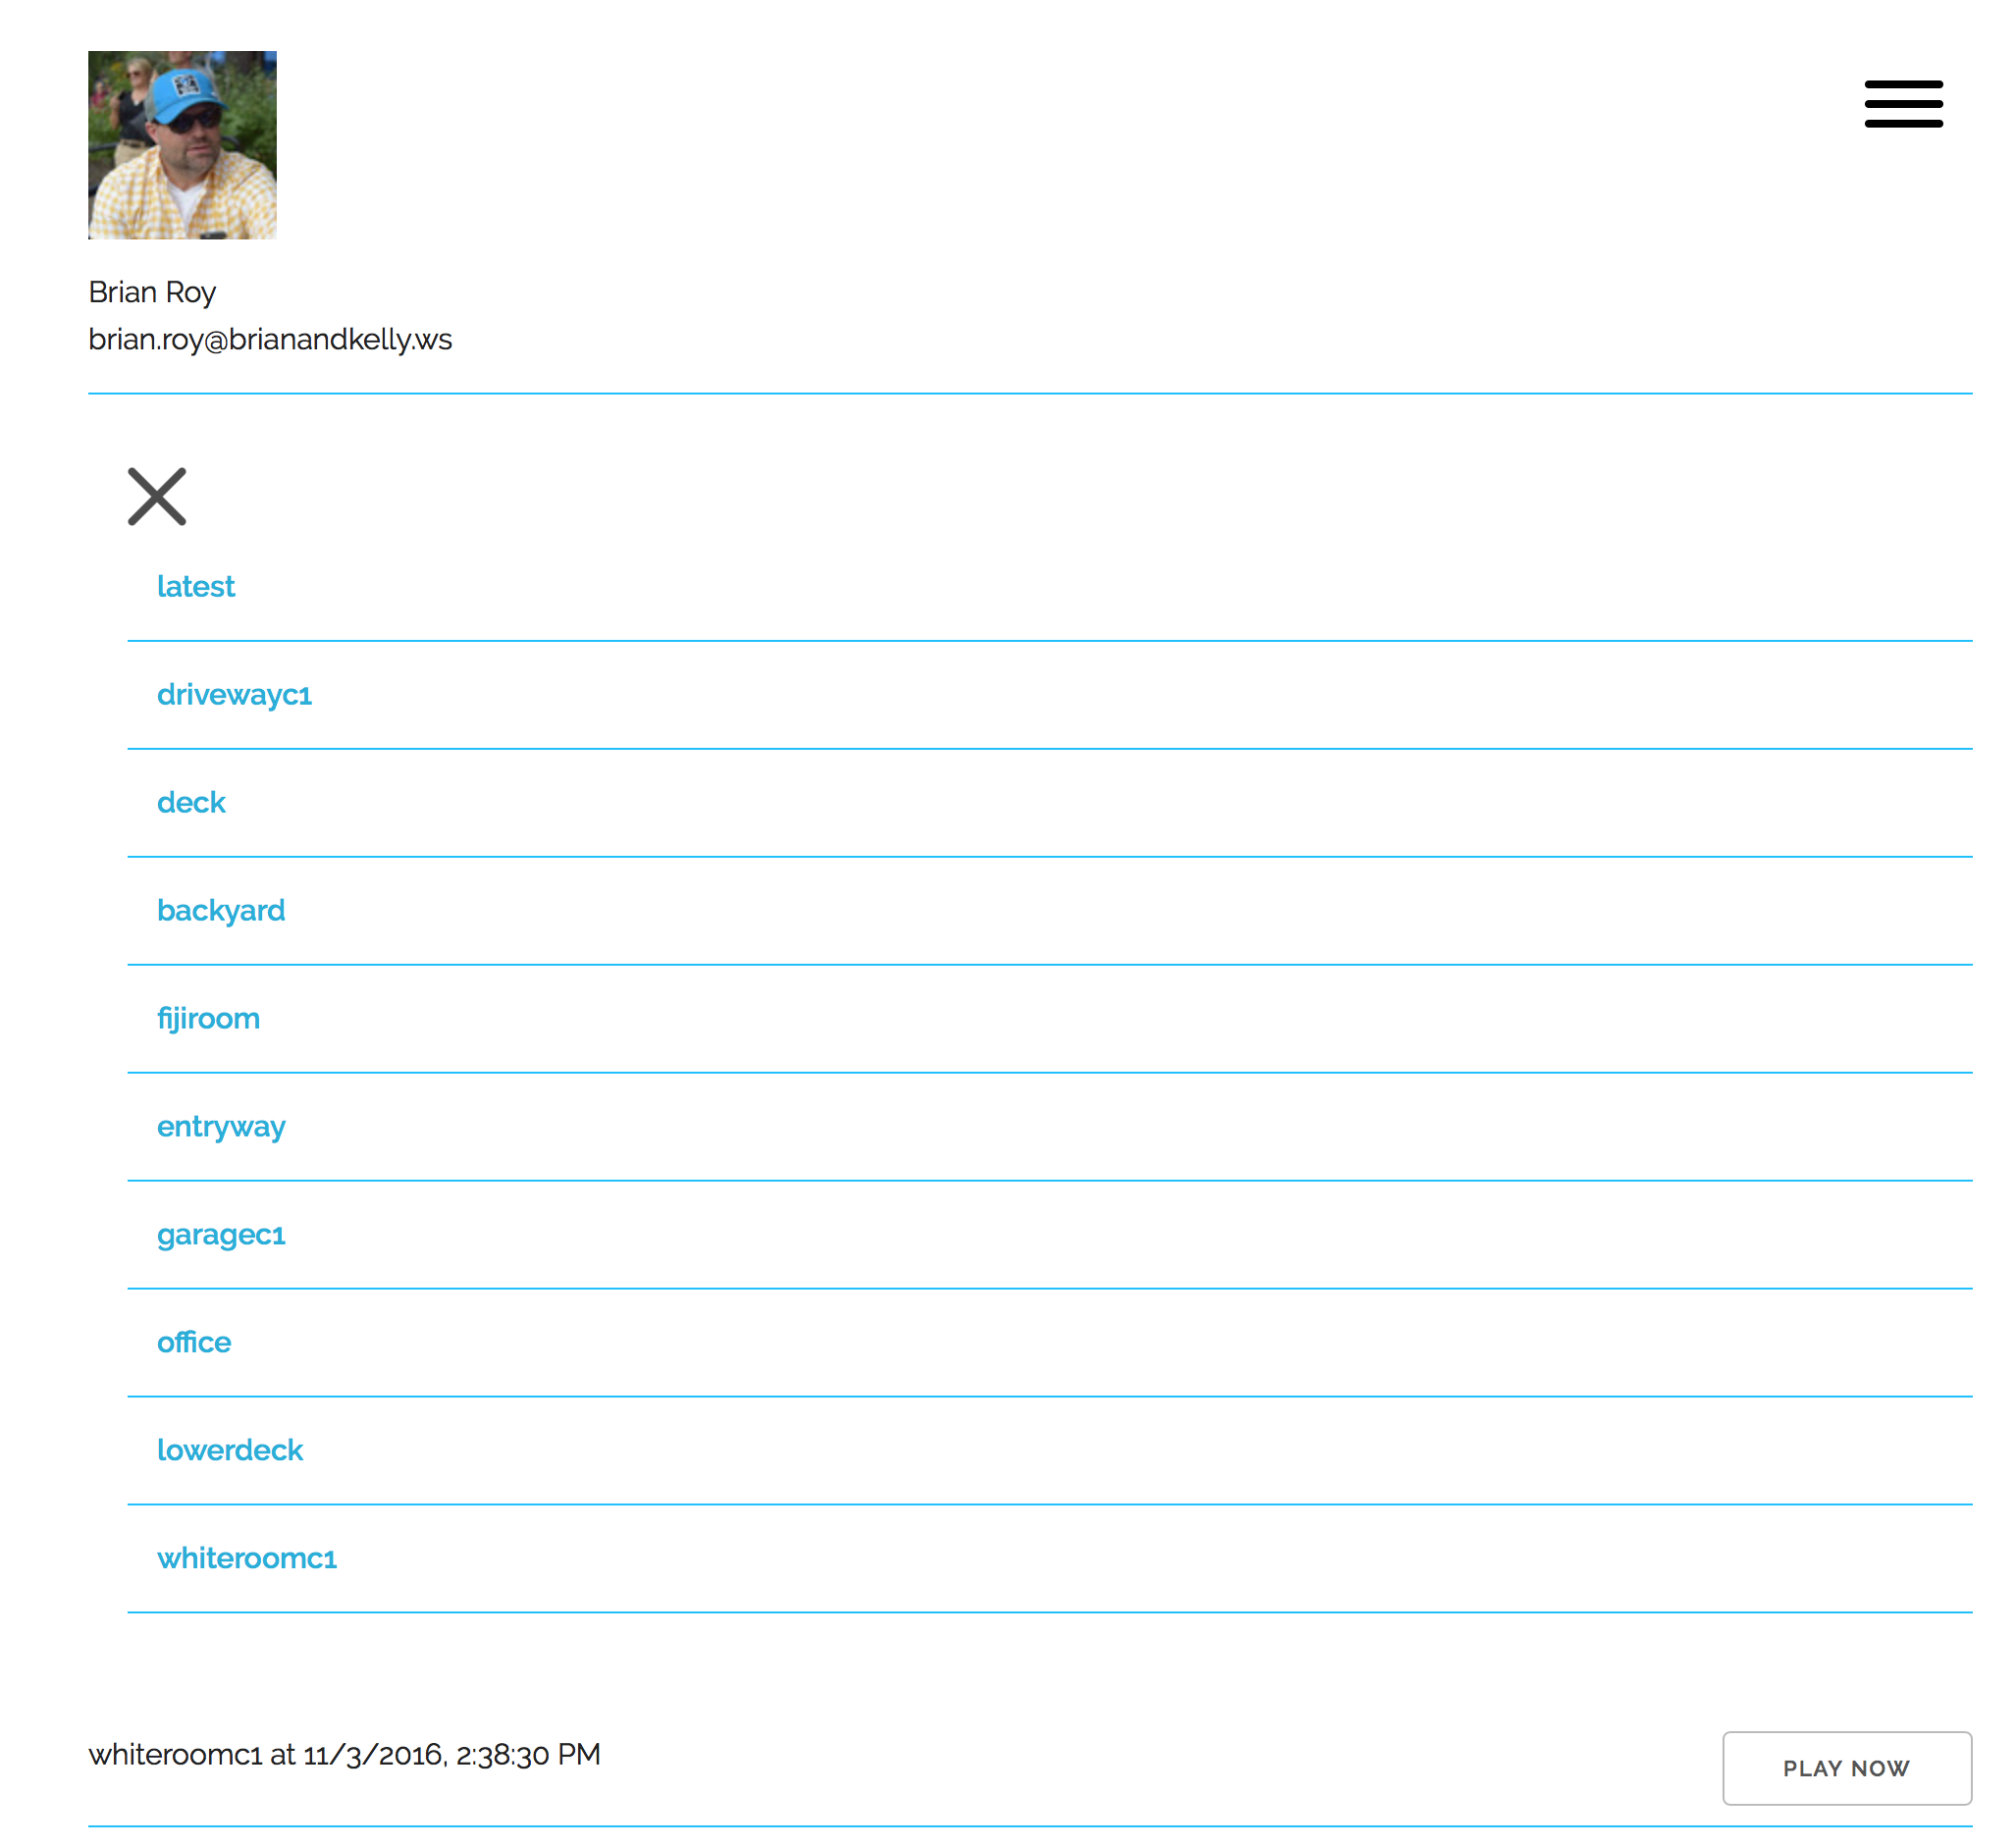
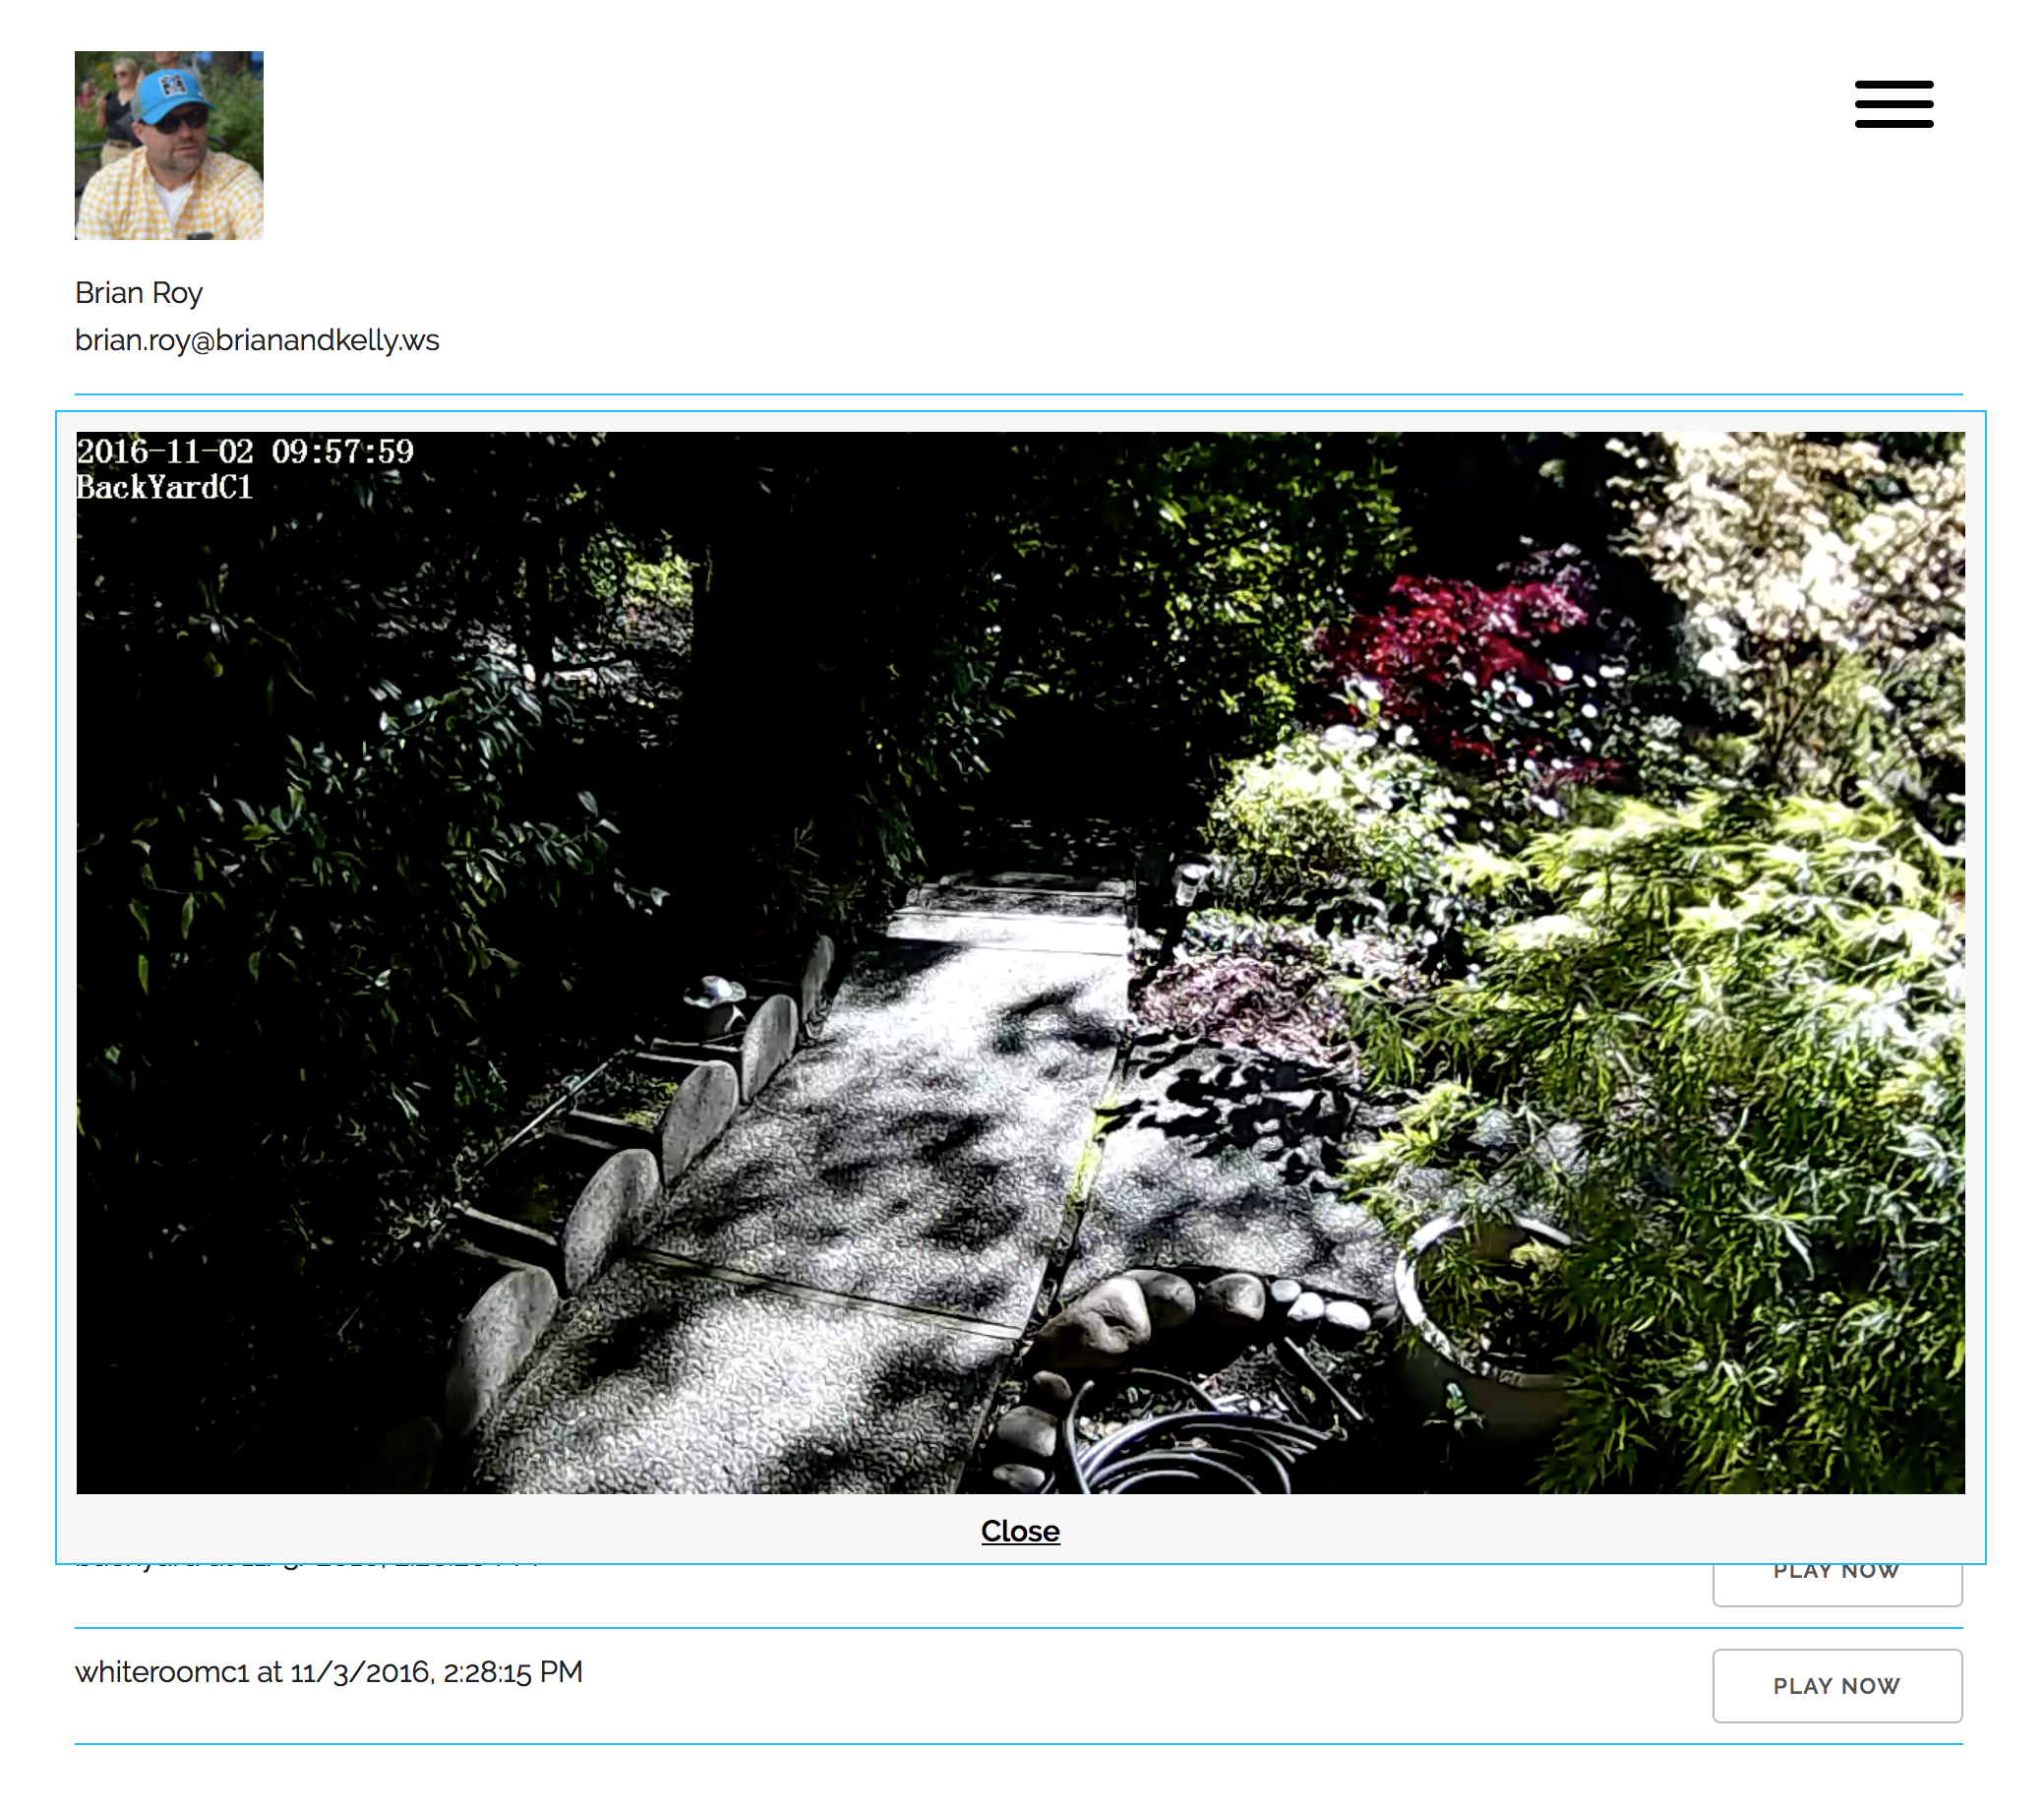
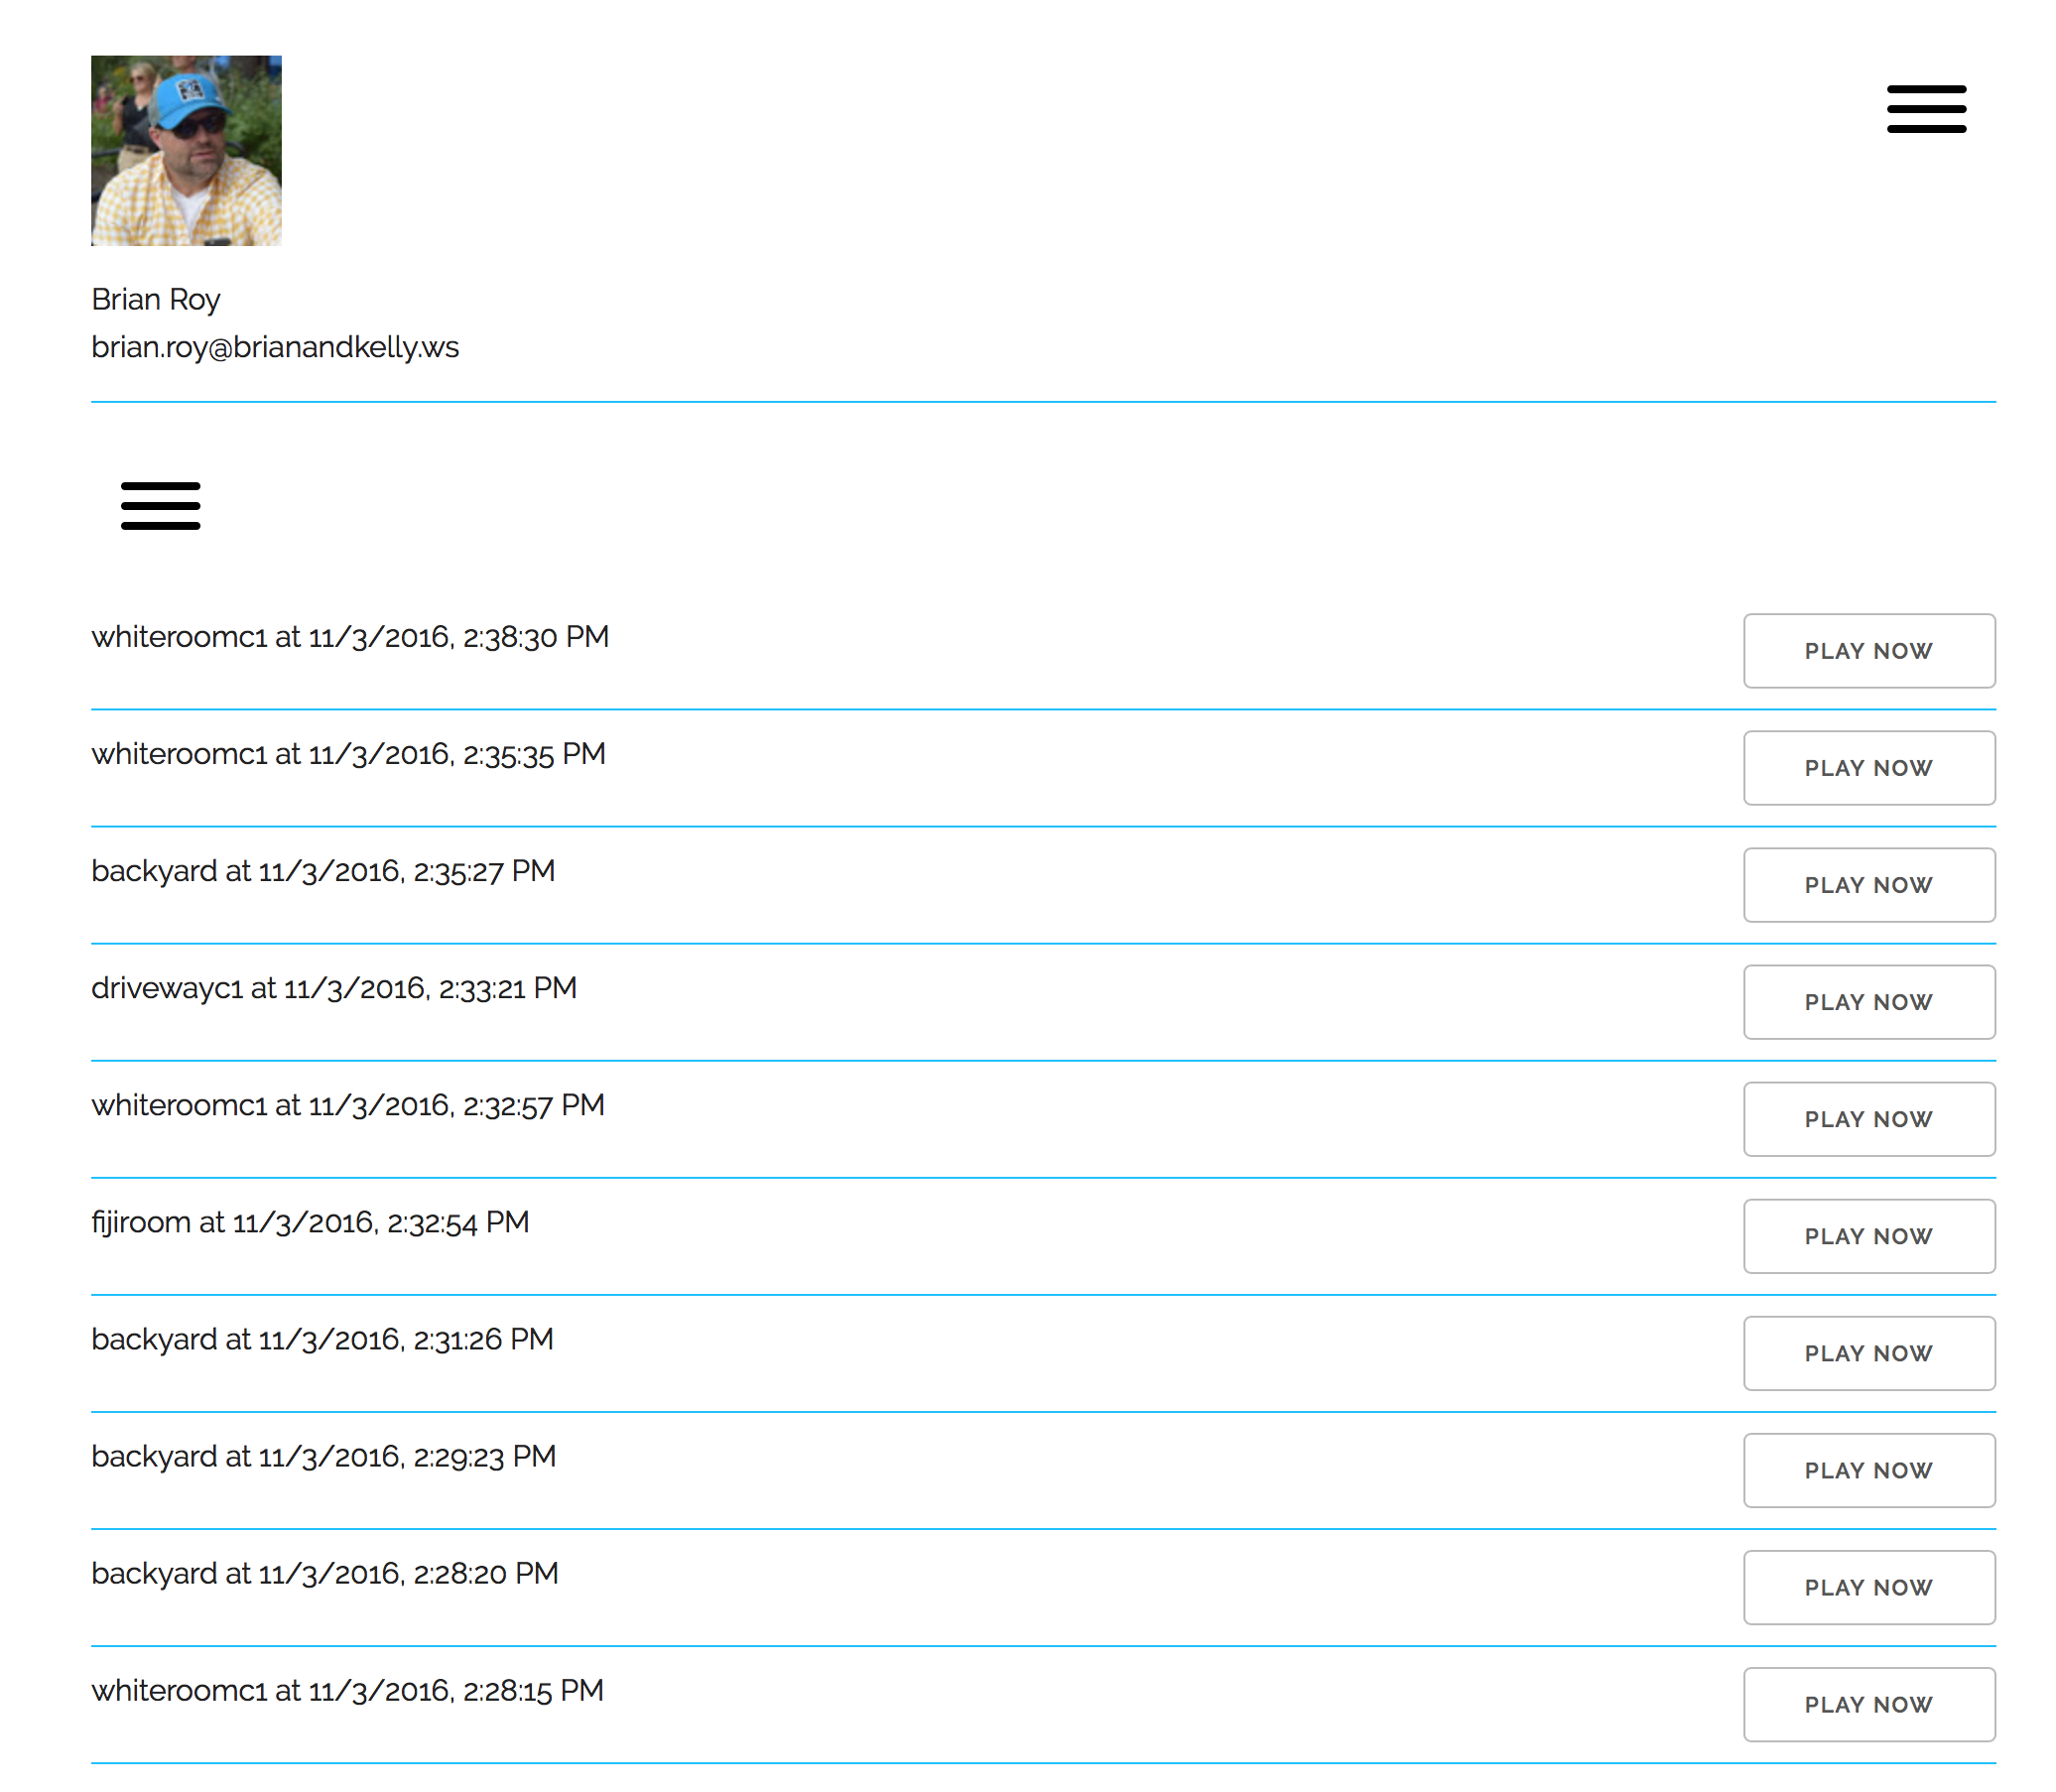
Our web application can be found in the GitHub repo found here. The application is responsive – using the Skeleton responsive CSS boilerplate – and works great both in browser and on mobile devices. The following is a gallery of application screenshots:
The application is a single page HTML, CSS and Javascript application. I won’t go into detail about the code except where relevant to implementation.
REST API Integration
The application relies on the REST API we deployed in part three and four of the series. The API requires a google authentication token for security and the following code provides an example of the REST API integration:
function getCameraList(token) {
    $.ajax({
        url: base_api_uri + "/cameras",
        crossDomain: true,
        headers: {
            "Authorization":token
        },

        success: function( result ) {
            $(".navigation").show();
            $(".options").show();
            getLatestVideos(user_token);
            camlist = result;
            loadCameraVids(result, token);
        }
    });
}
This Javascript uses jQuery to make an XHR request to the REST API. The base_api_uri is defined at the top of the securityvideo.js file found in the repository. This URI is found in your API Gateway Stage deployment discussed in part four:
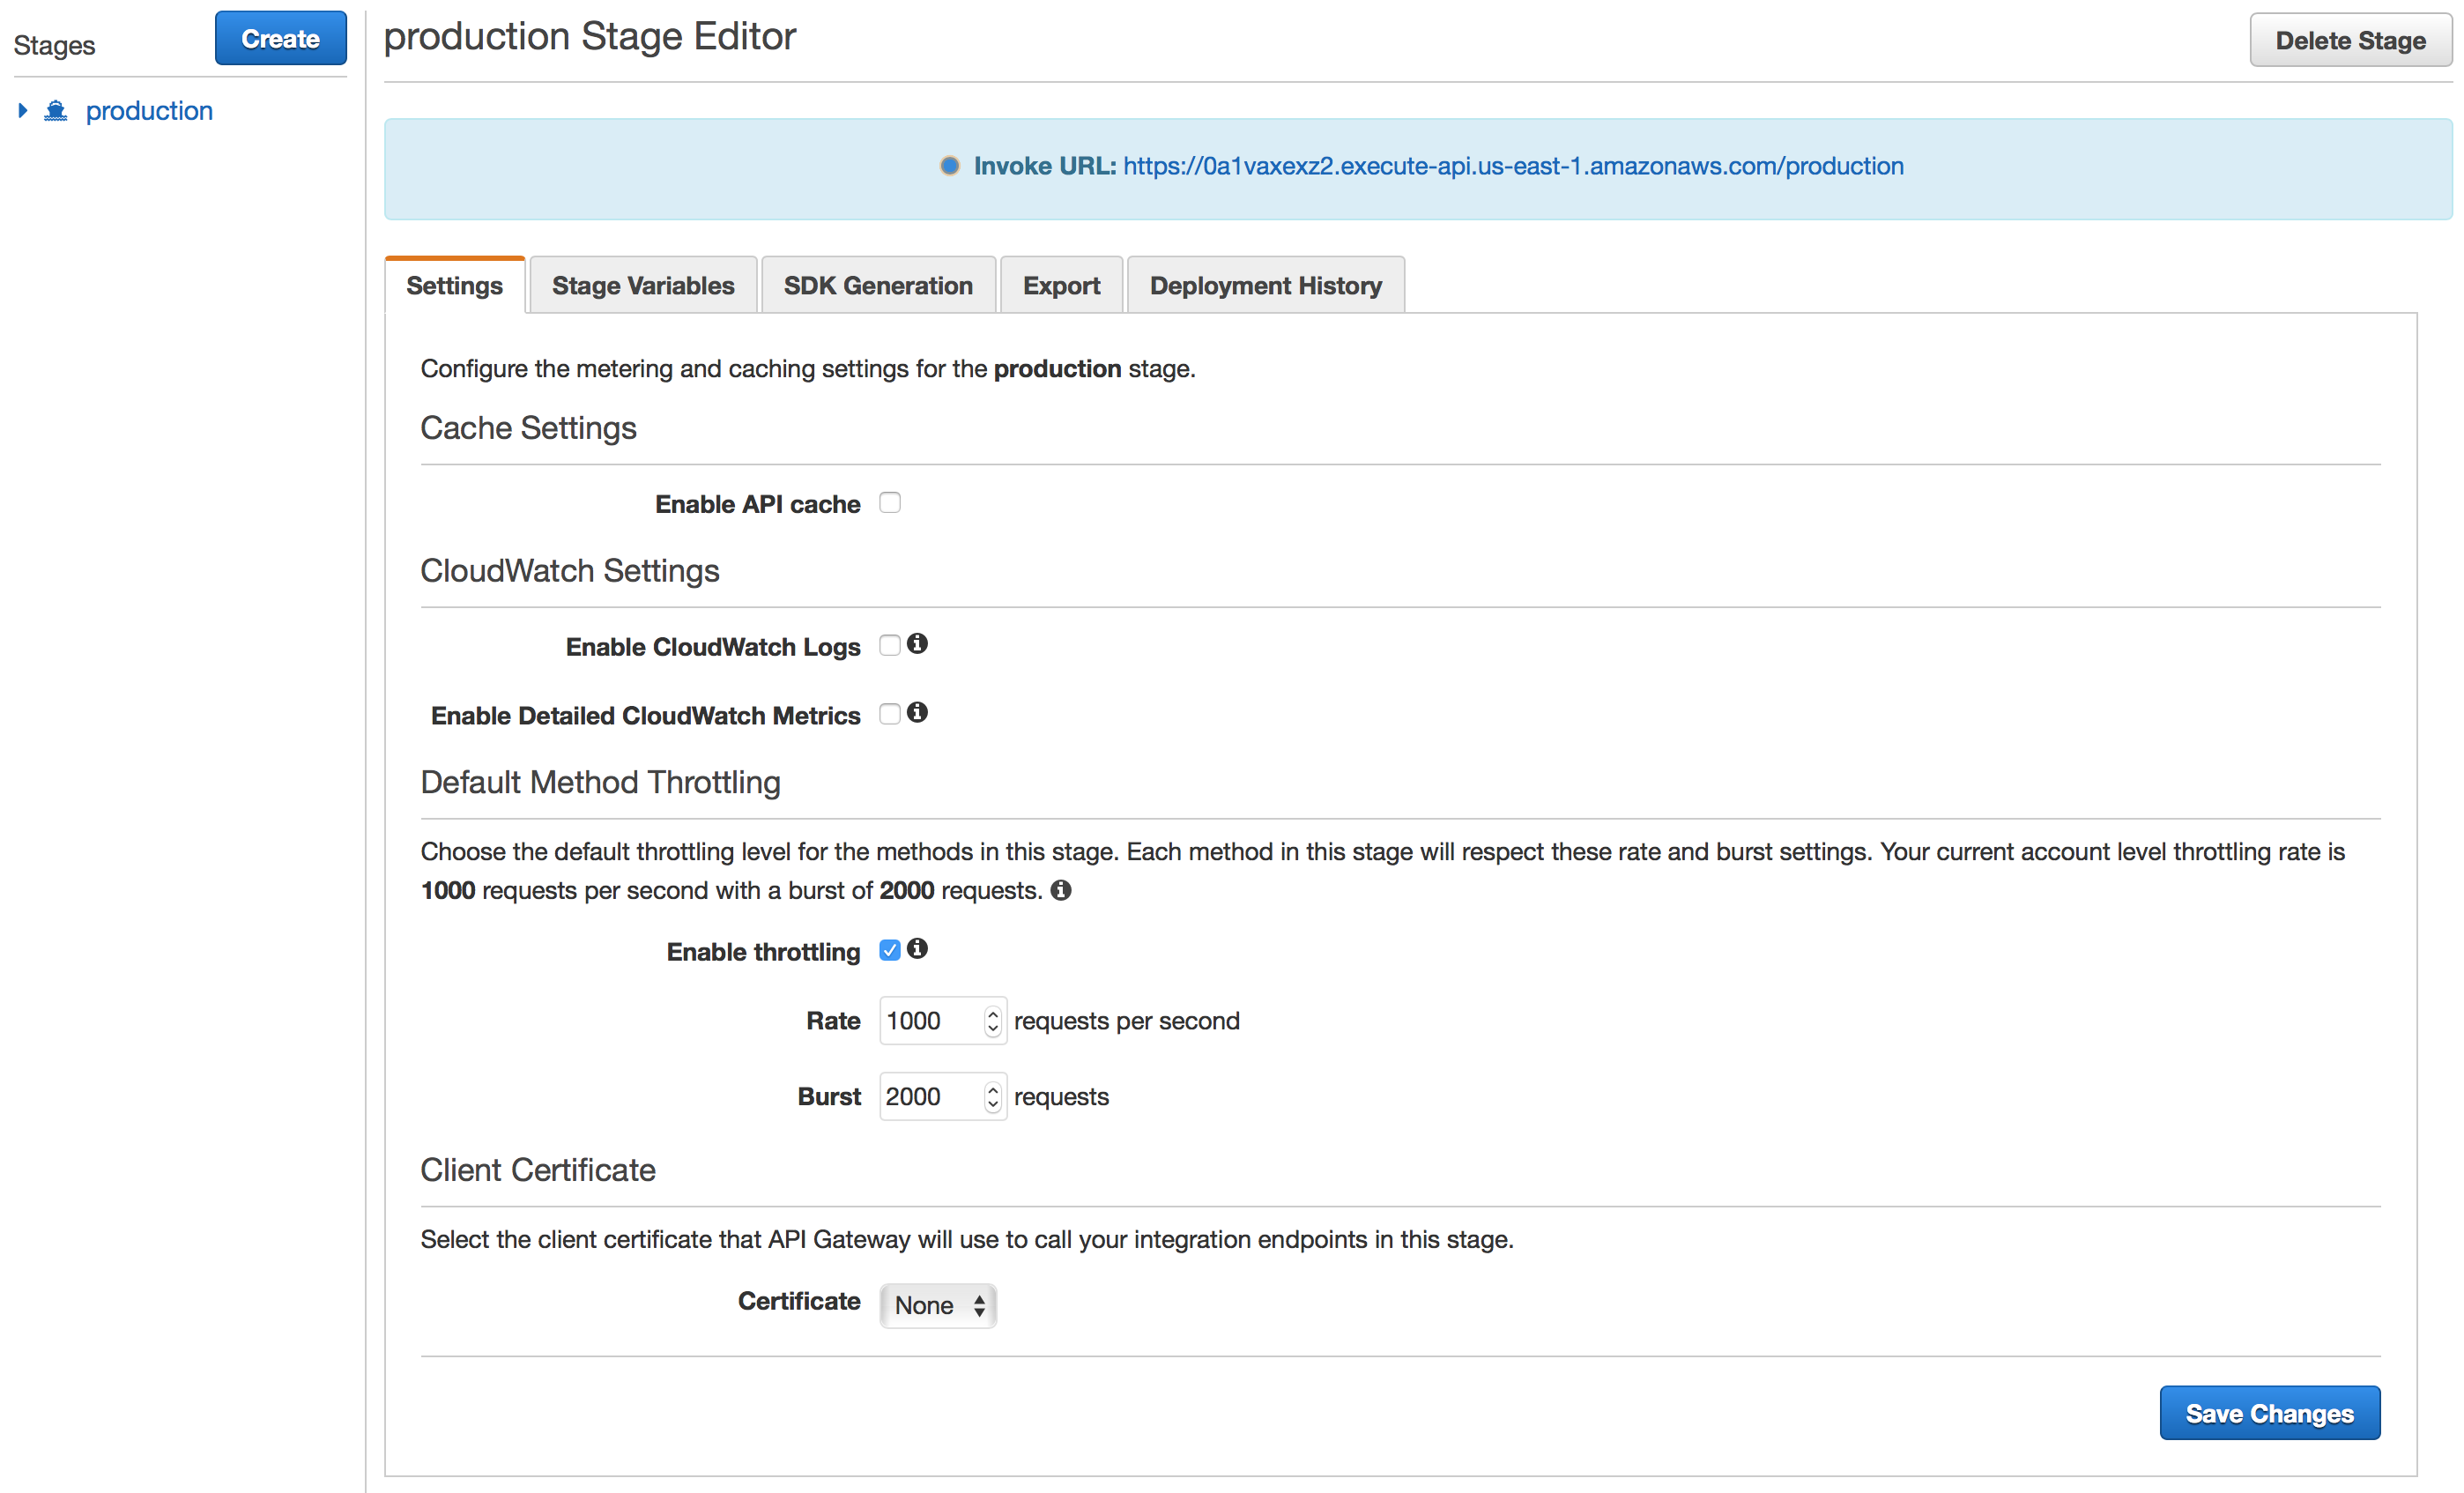
The Invoke URL for your API deployment should be used as the base_api_uri.
The crossDomain: true parameter allows for the cross domain XHR request, and the “Authorization”: token parameter sends the Google Authorization token to API Gateway for use by our custom authorizor created in part four of the series.
On success the function loads the video timeline and the last 5 videos for each camera found in this call. The referenced functions can be found in the securityvideo.js file – feel free to review that file if you are interested in the exact mechanisms that are used.
Deploying the Web Application – Serverless
In order to deploy our web application we will leverage S3 static web site hosting. The first consideration is the host name you’ll be using for your web application. In my case I used a sub-domain of my brianandkelly.ws domain. The exact URL I want to deploy the application to is:
http://security-videos.brianandkelly.ws
In order to enable S3 static site hosting for that URL create a bucket with the exact host name: security-videos.brianandkelly.ws

Now you can enable static site hosting by clicking on the “Properties” button at the top:
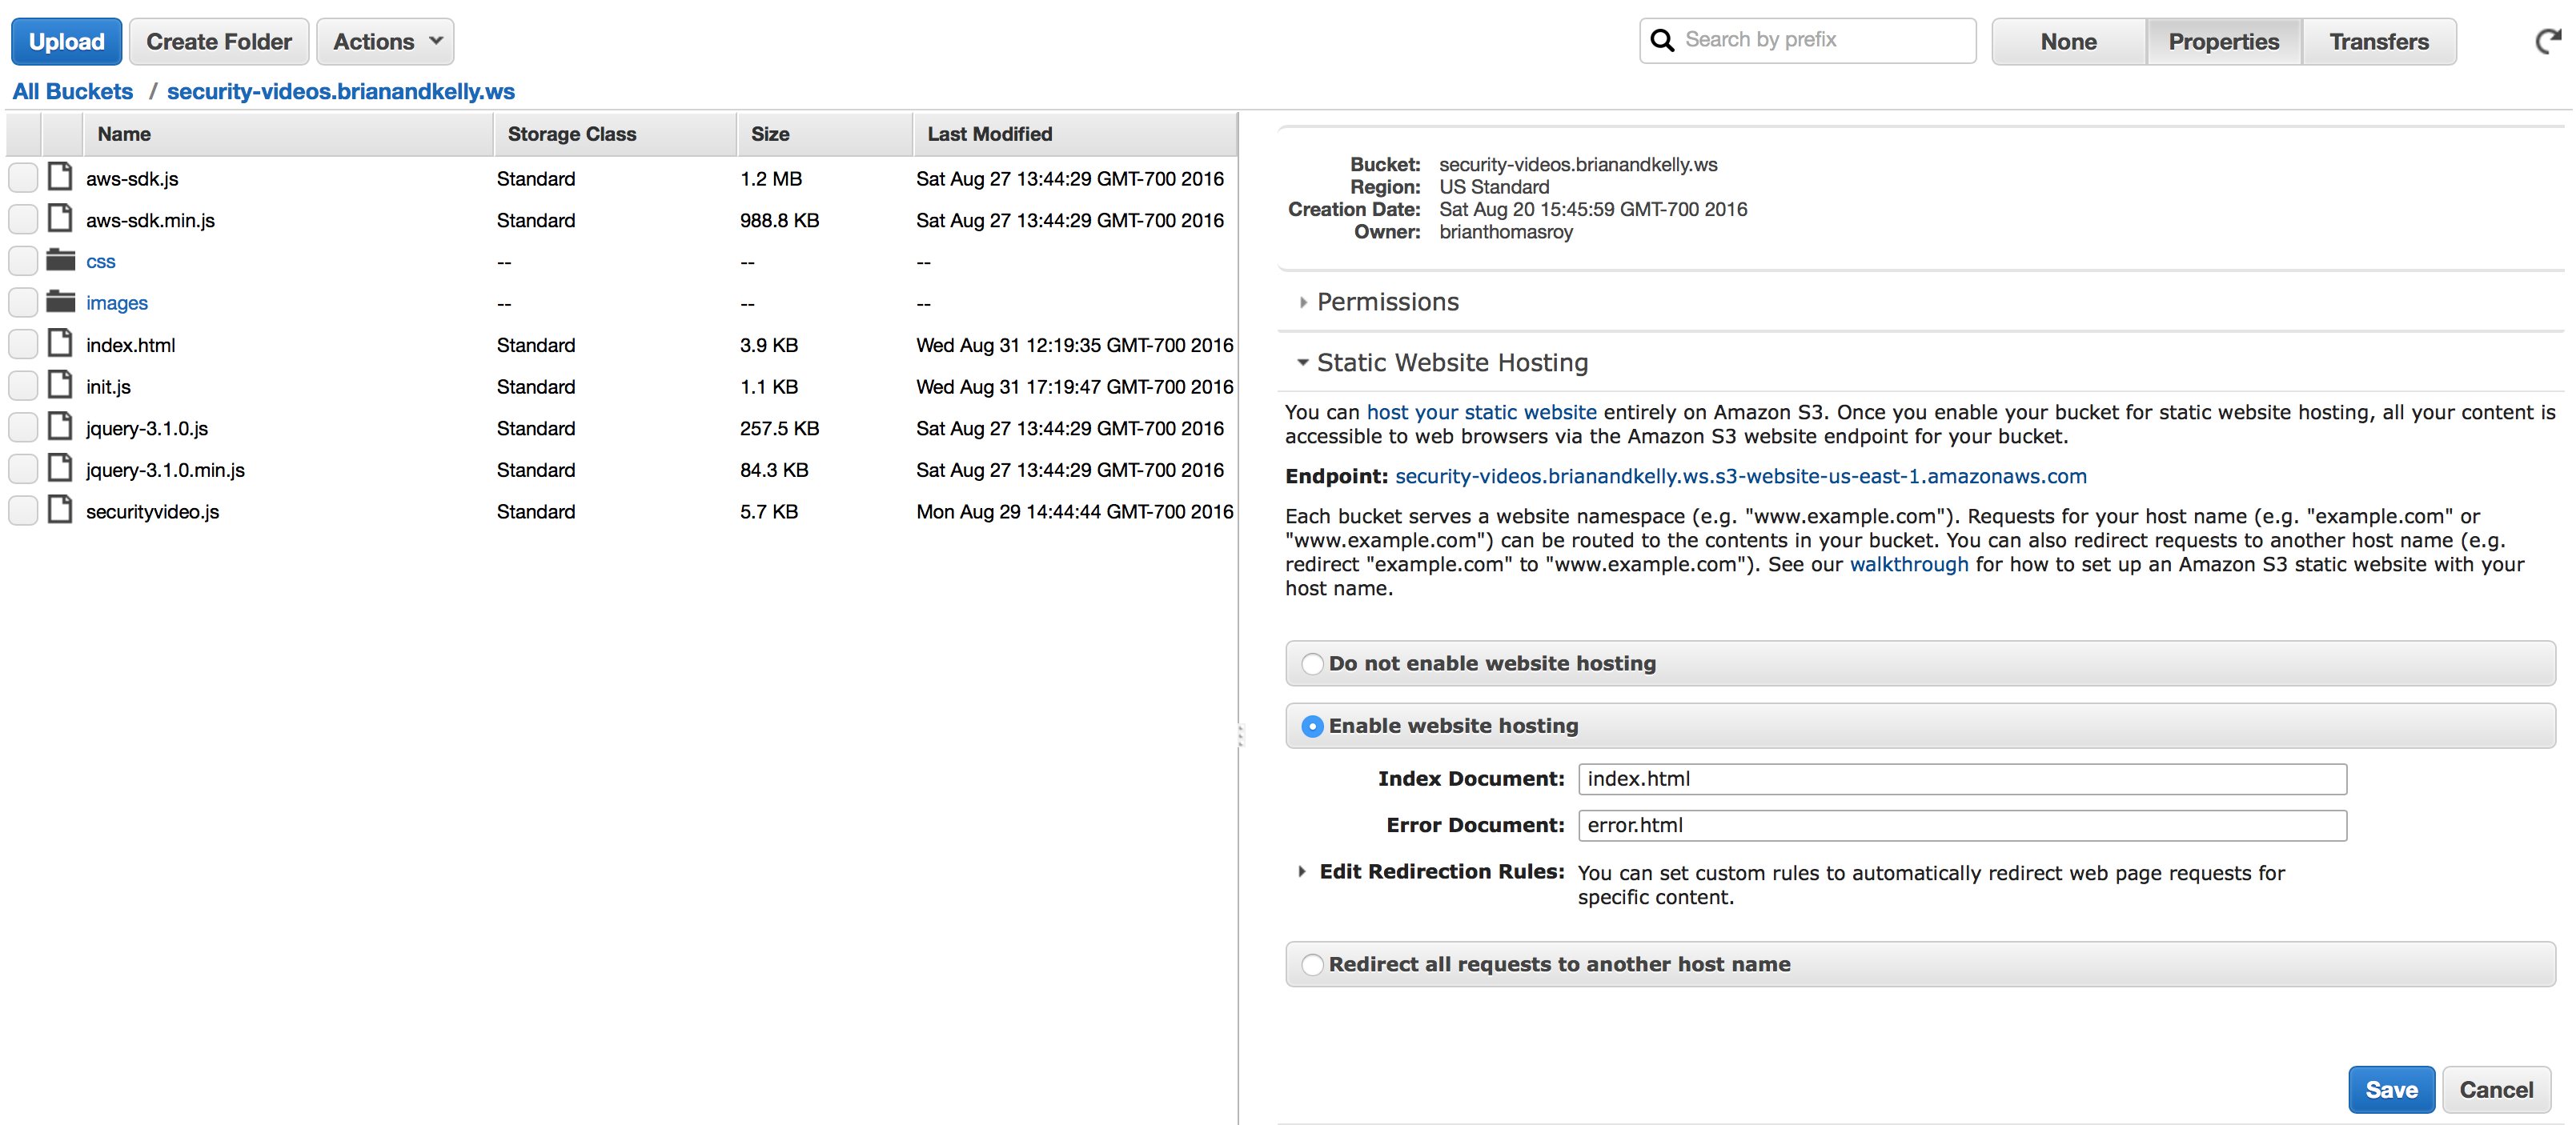
You’ll select “Enable website hosting” and provide an index document and error document.
Next, you’ll want to add this policy to the “Permissions” section:
{
	"Version": "2012-10-17",
	"Statement": [
		{
			"Sid": "PublicReadGetObject",
			"Effect": "Allow",
			"Principal": "*",
			"Action": "s3:GetObject",
			"Resource": "arn:aws:s3:::!!Your Bucket Name!!/*"
		}
	]
}
Replacing “!!Your Bucket Name!! with the name of your S3 bucket.
Last, you’ll need to add a CNAME entry in your DNS to resolve your host name to the S3 bucket:

The S3 bucket host name can be found under the “Static Website Hosting” section of the bucket properties.
You can now load the content found in the GitHub repo to your S3 bucket and the application will be available at the URL with your bucket name.
However, before you do that, you’ll need to configure one more item.
Step 2: Google Auth API
In order to use the Google OAuth API to authenticate your users with their Google login you’ll need to create credentials in the google developer console.
To do that go to the google console – sign in and select the “Credentials” tab on the left side:
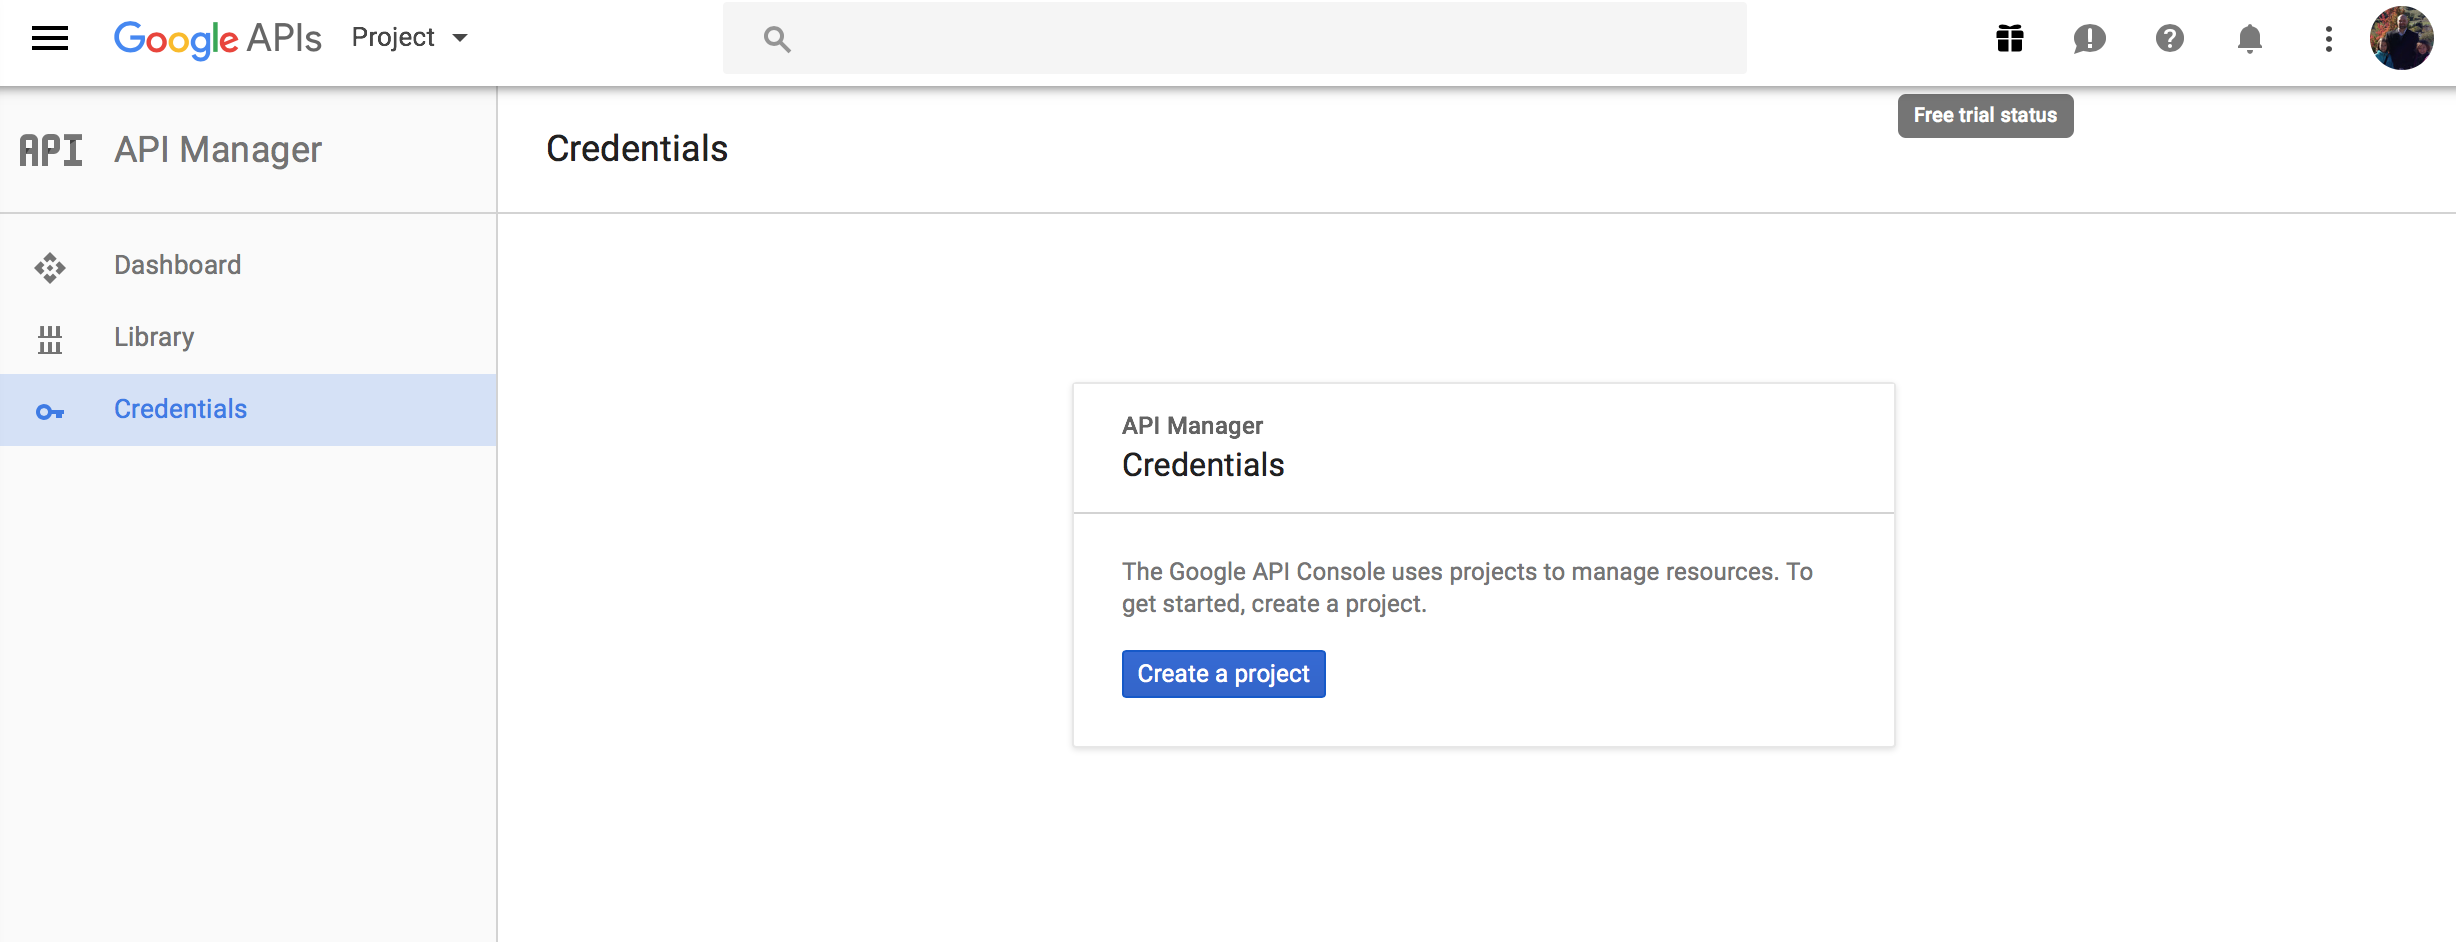
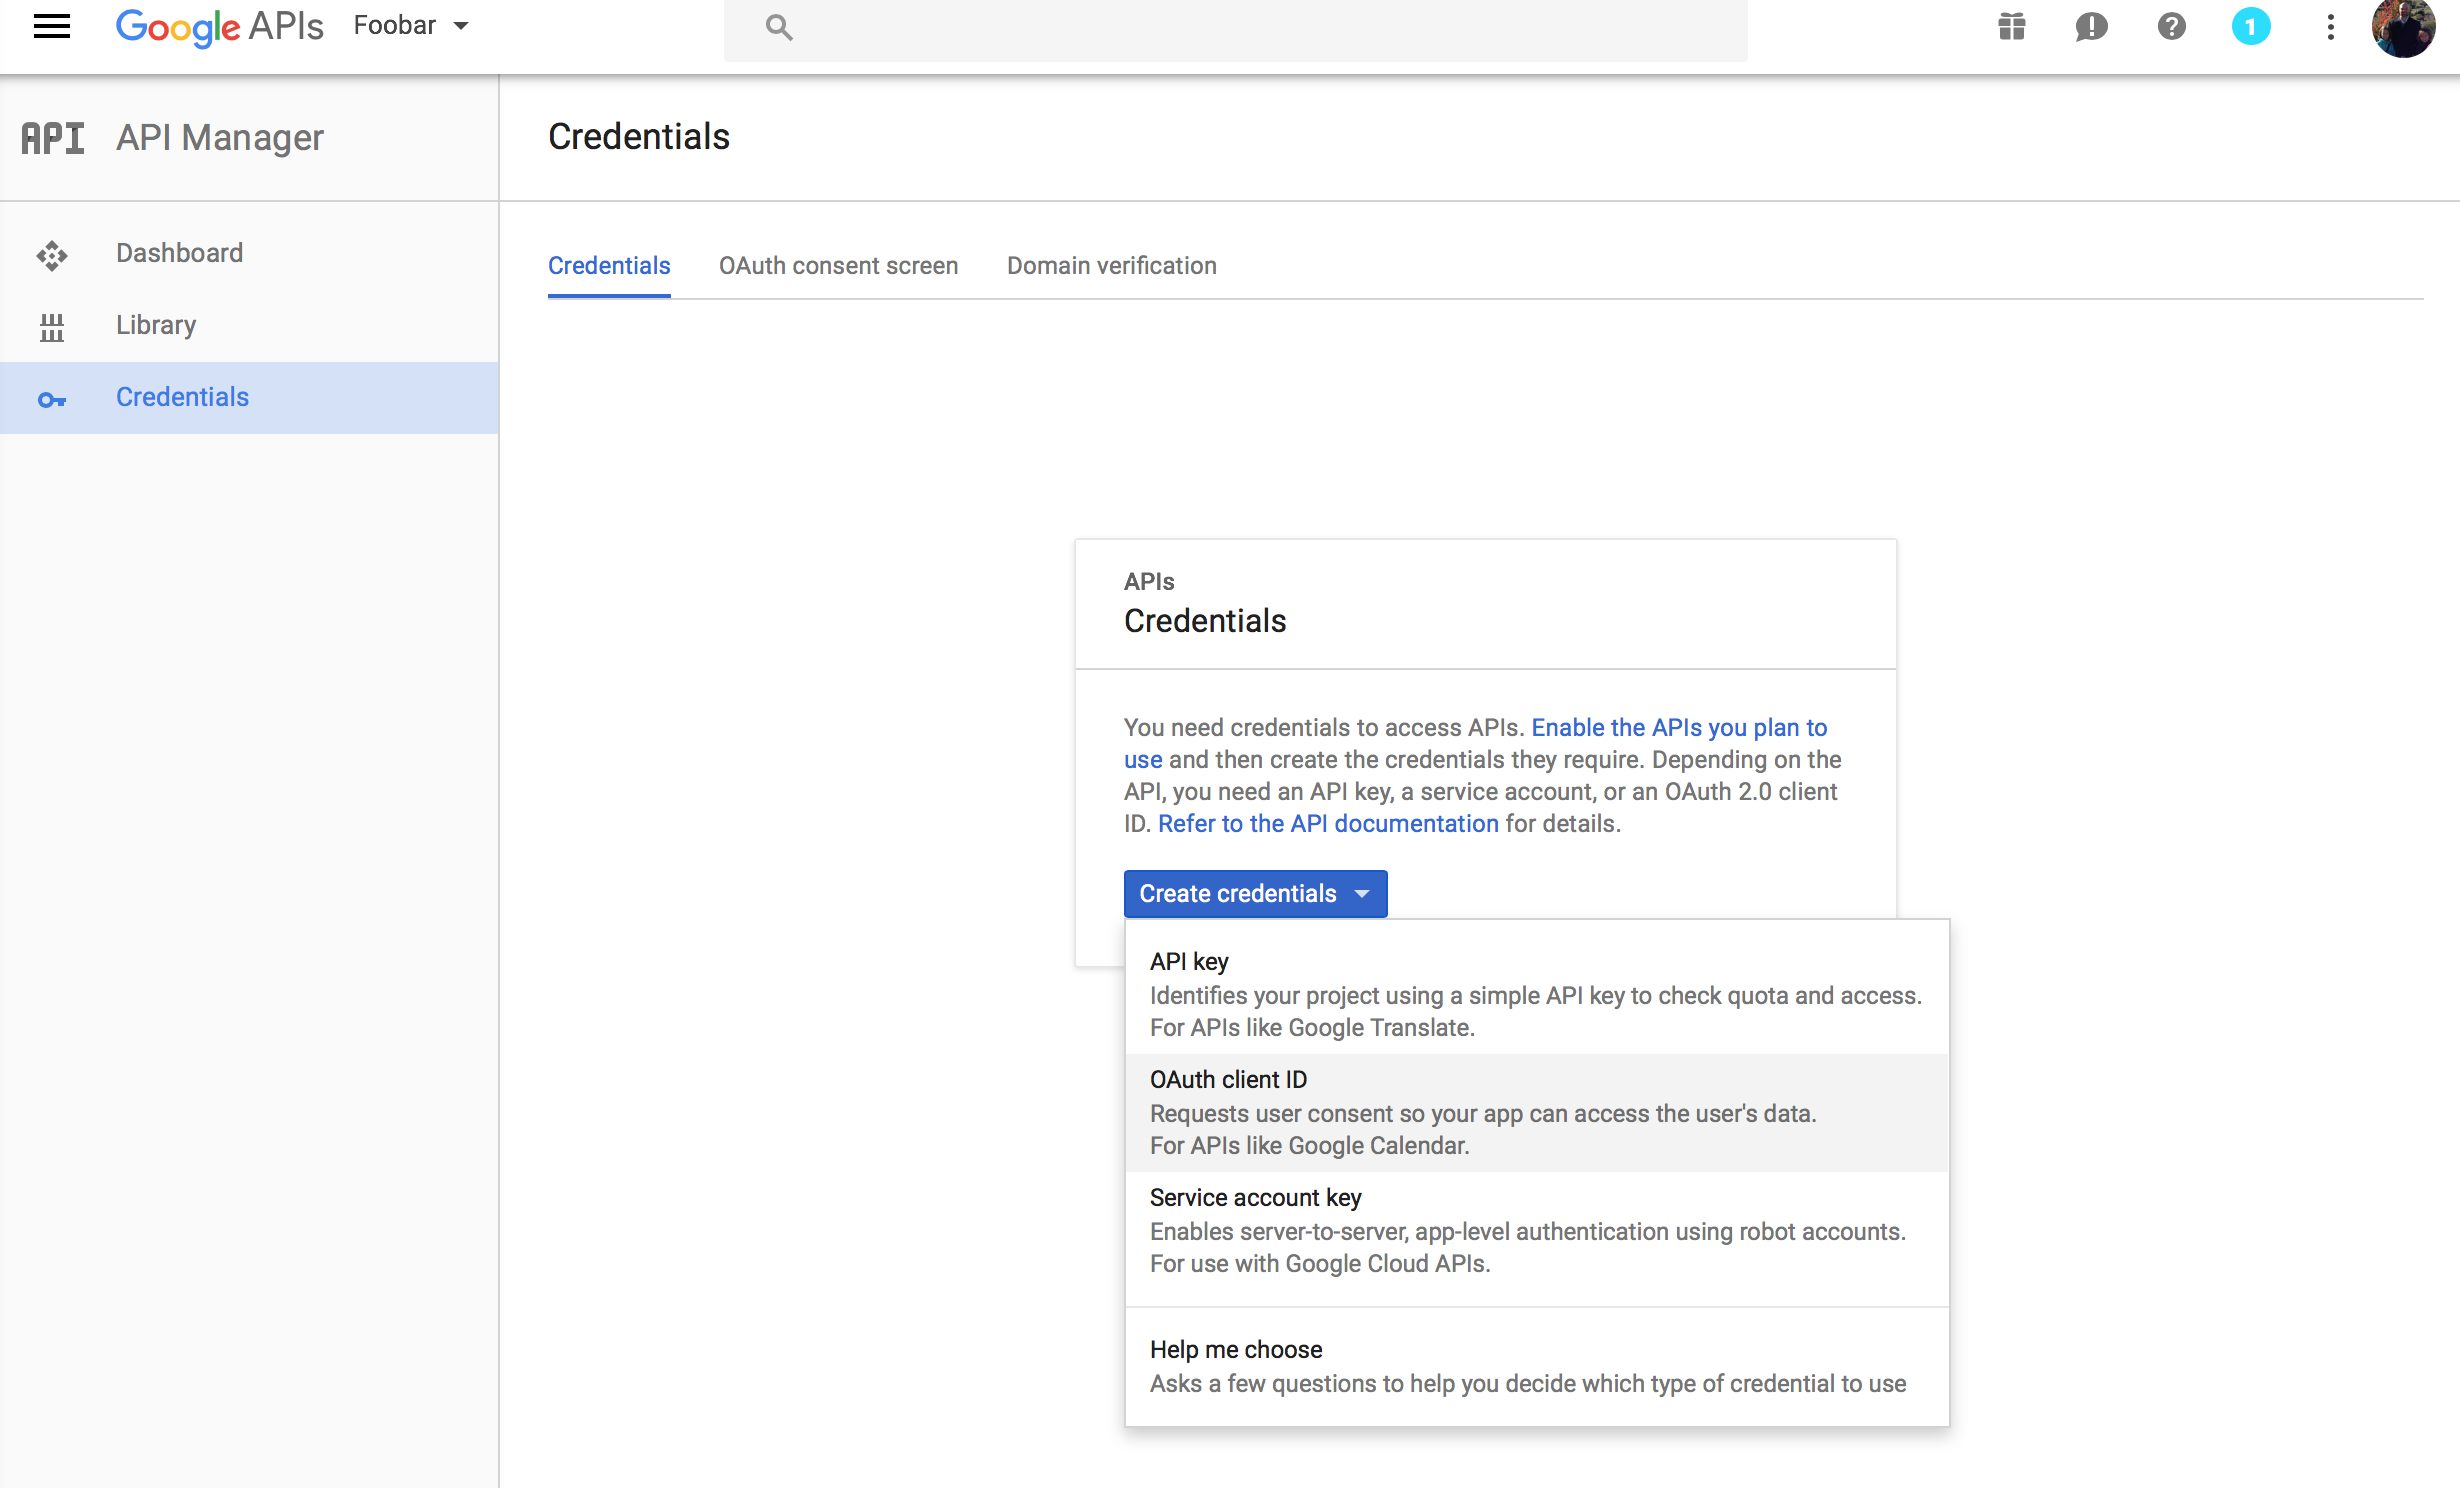
The select “Create a project” and select “OAuth client ID”:
Next you’ll give your Credentials a name and provide the URLs to the application:
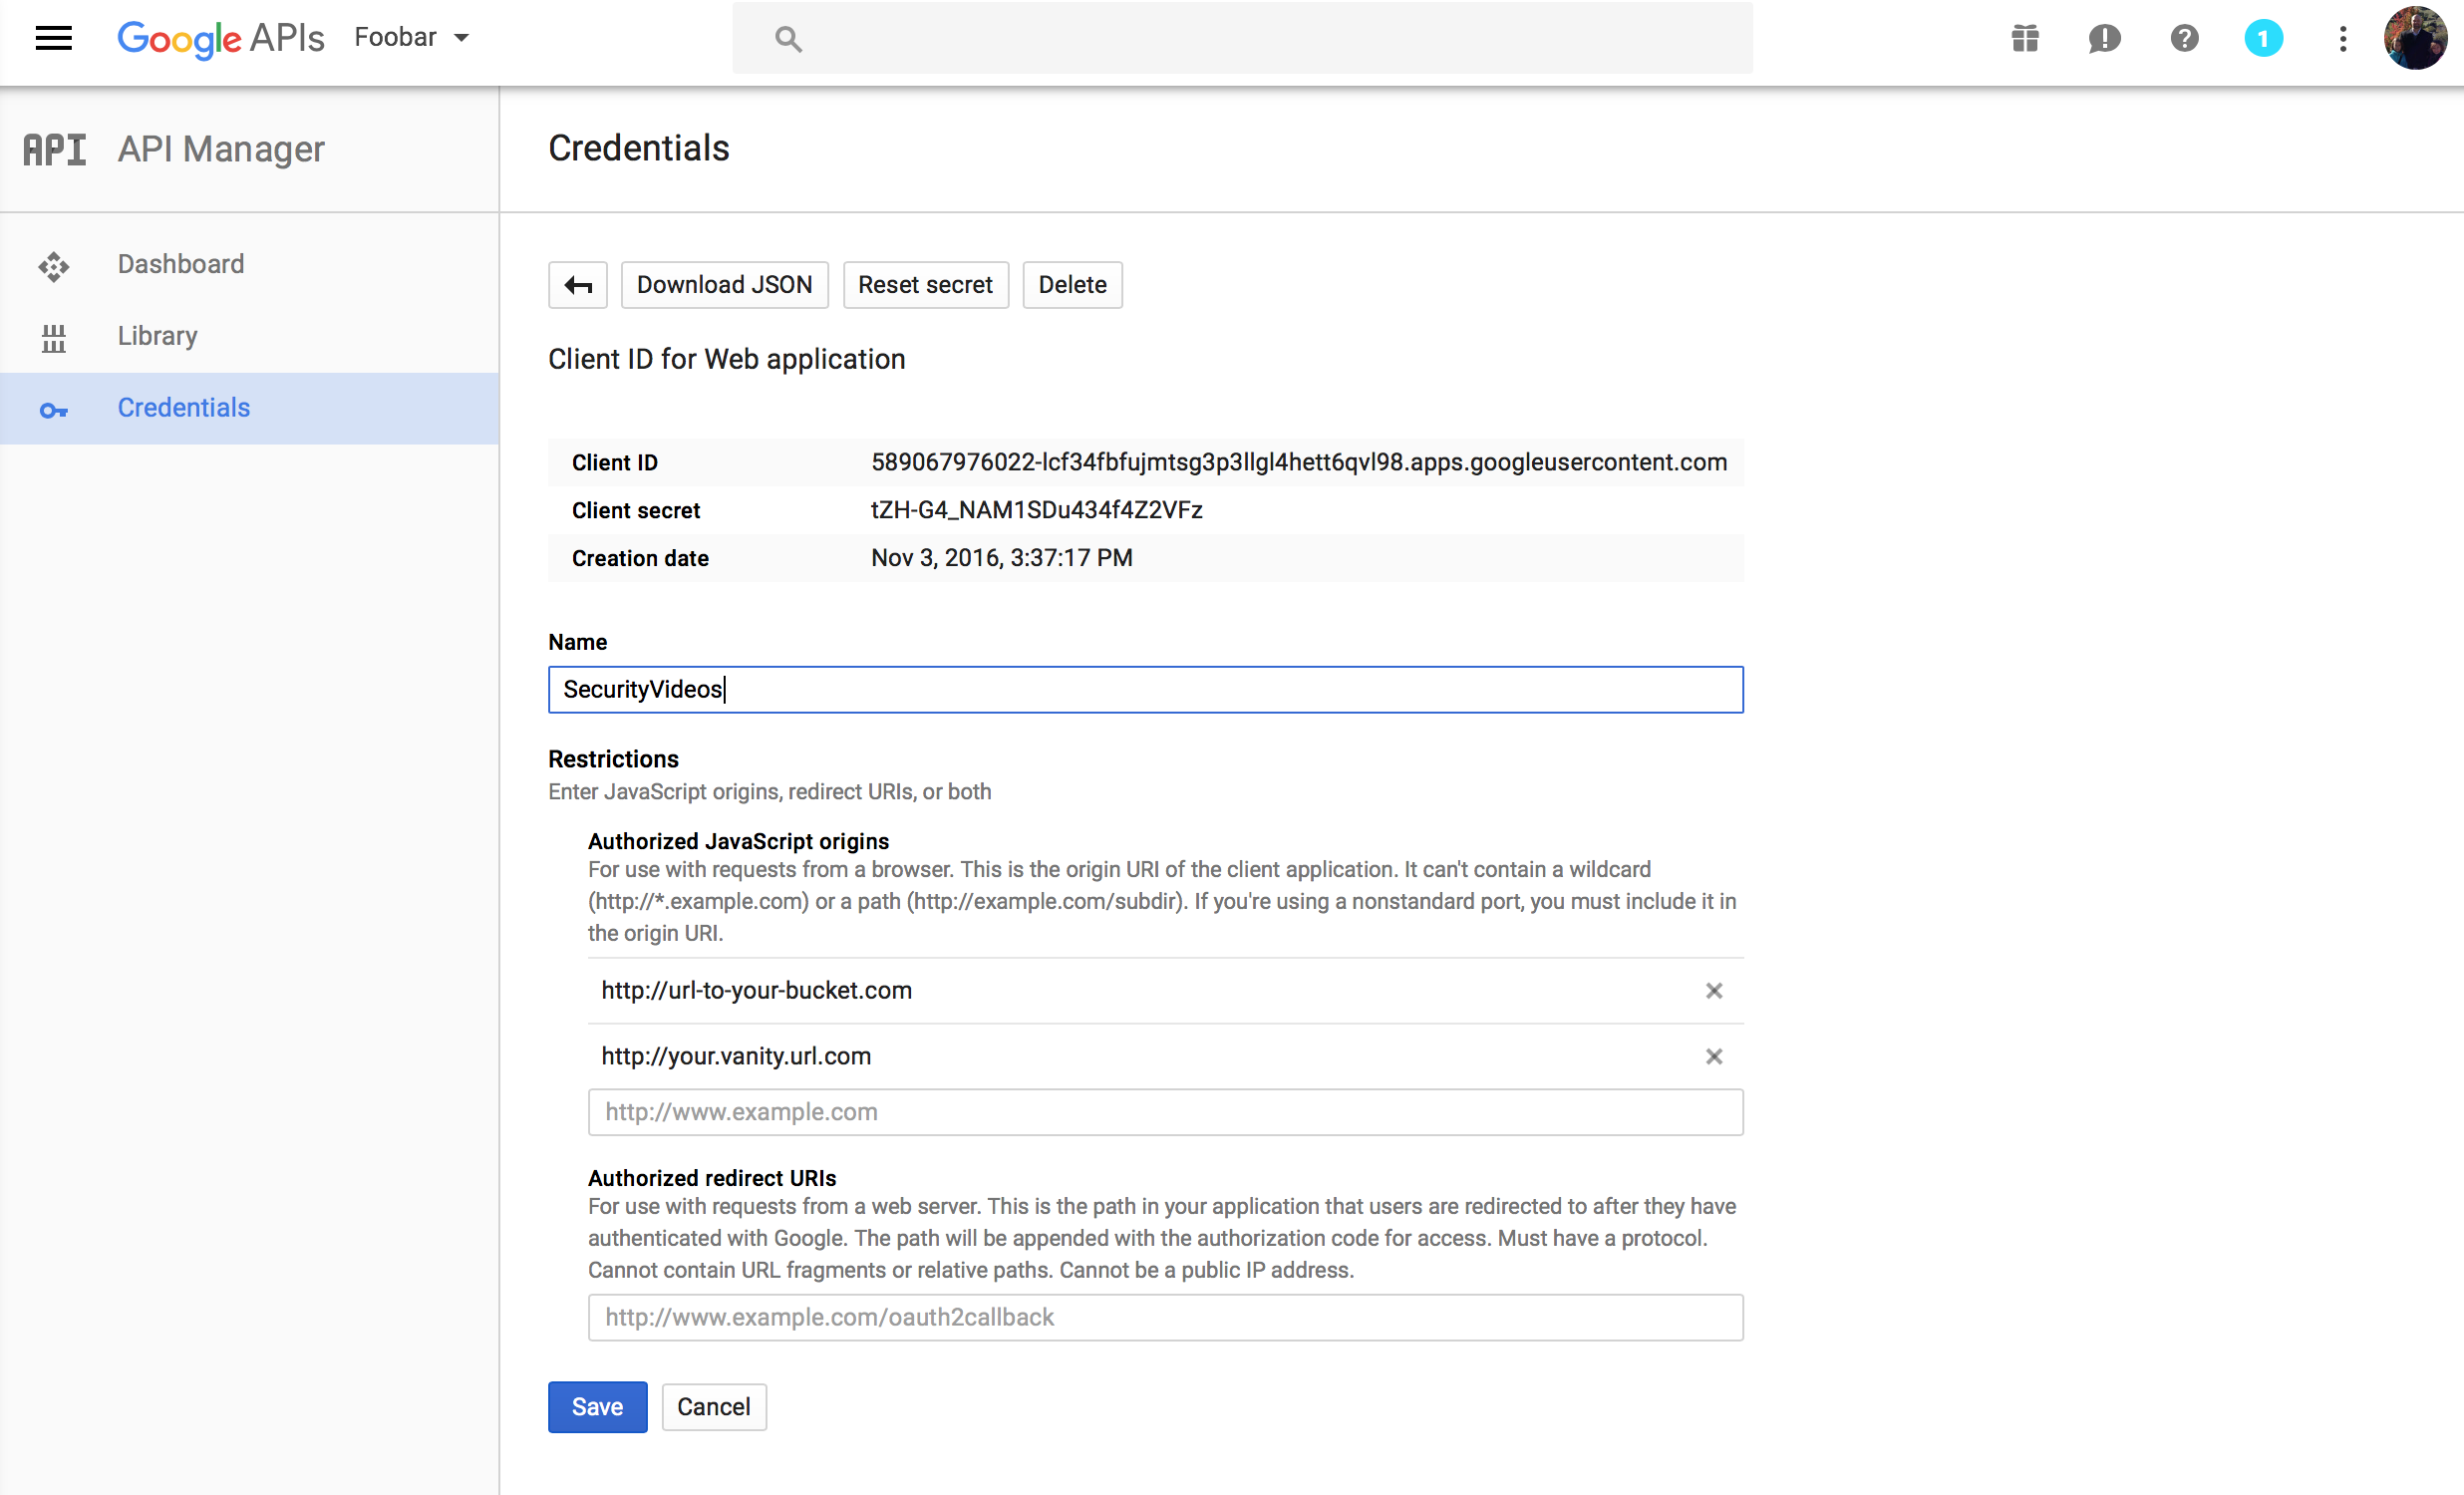
You’ll want to add two “Authorized Javascript origins” – the actual S3 bucket URL (found in the bucket properties under “Static Website Hosting”) and the URL/Host you configured a CNAME for above.
NOTE: you’ll need to press the “Create” button after entering each URL and then again to create the Credentials – small Google UX problem there.
Once this is complete you can copy the “Client ID” for the Credentials.
Adding the Google API Credentials to the Web Application
Now that you have a Client ID you can put it in the HTML for the web application. You’ll want to edit the index.html file found in the repository and edit the following meta tag:
name="google-signin-client_id" content="your google client id here"
Put your google client id in the content value and save the file.
Assuming you’ve already changed the base_api_uri (above) to your API Gateway URI you can move the source to your S3 bucket using the S3 Console or your favorite S3 client (I use Cyberduck).
You can now test the application by loading the S3 bucket URL in a browser. If you see a simple “Sign In” button as follows the application is working:

Debugging Tips:
API Authenticator:
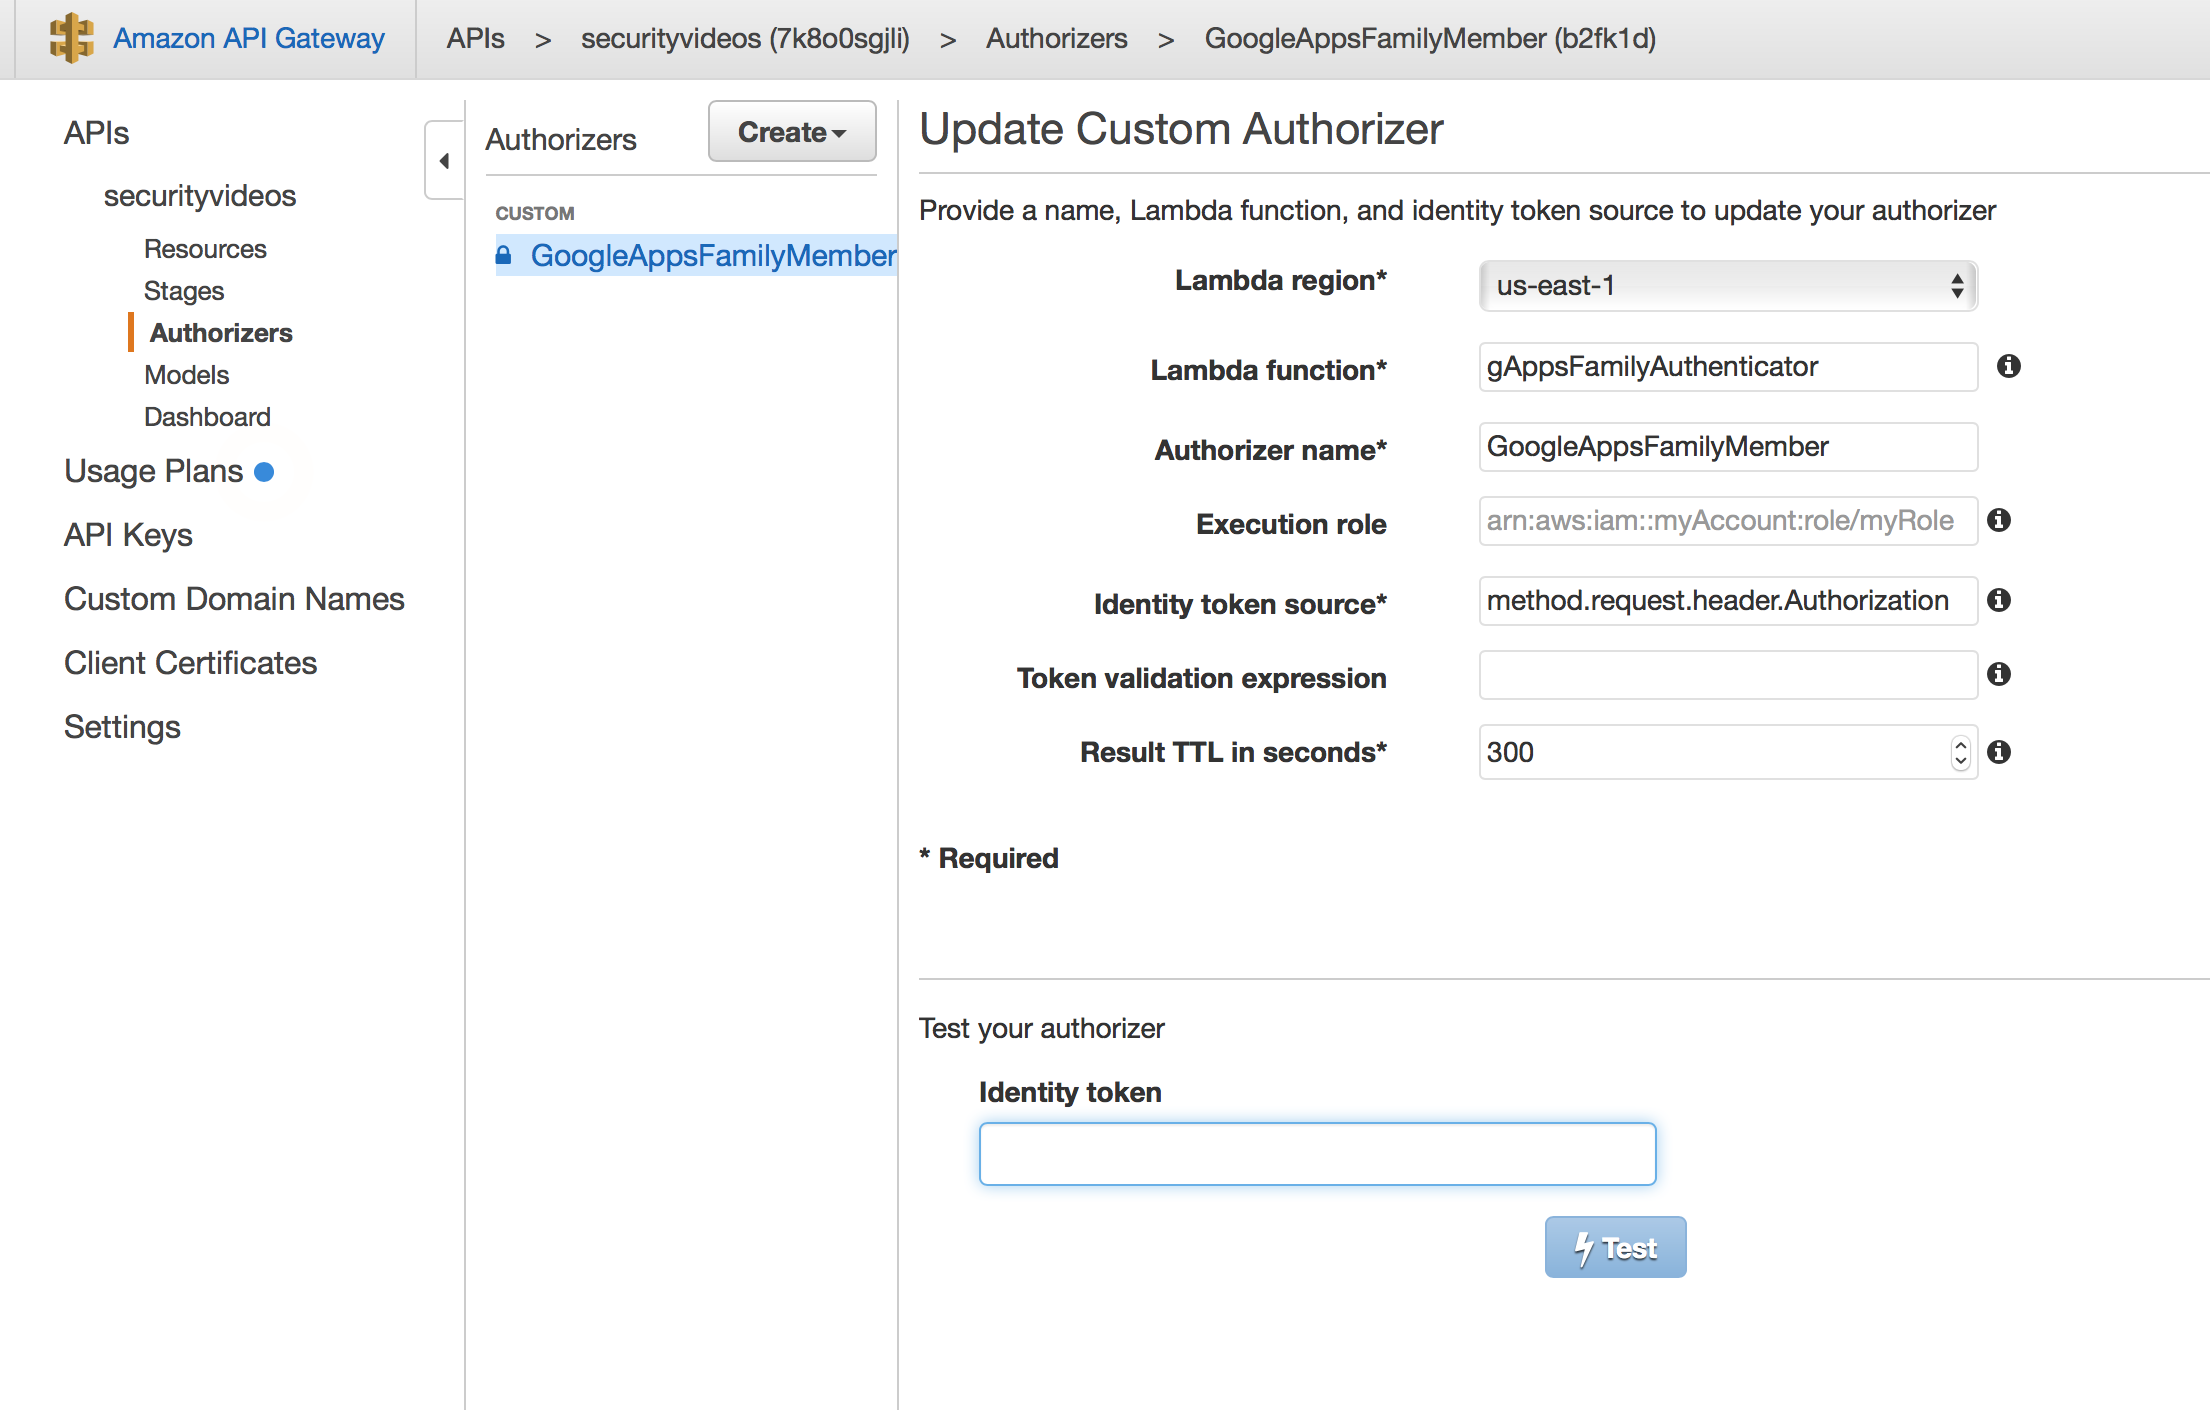
Get the value of the token variable from your favorite web debugger console and use it to test the custom authorizer. This can be done in the API Gateway console:
REST API:
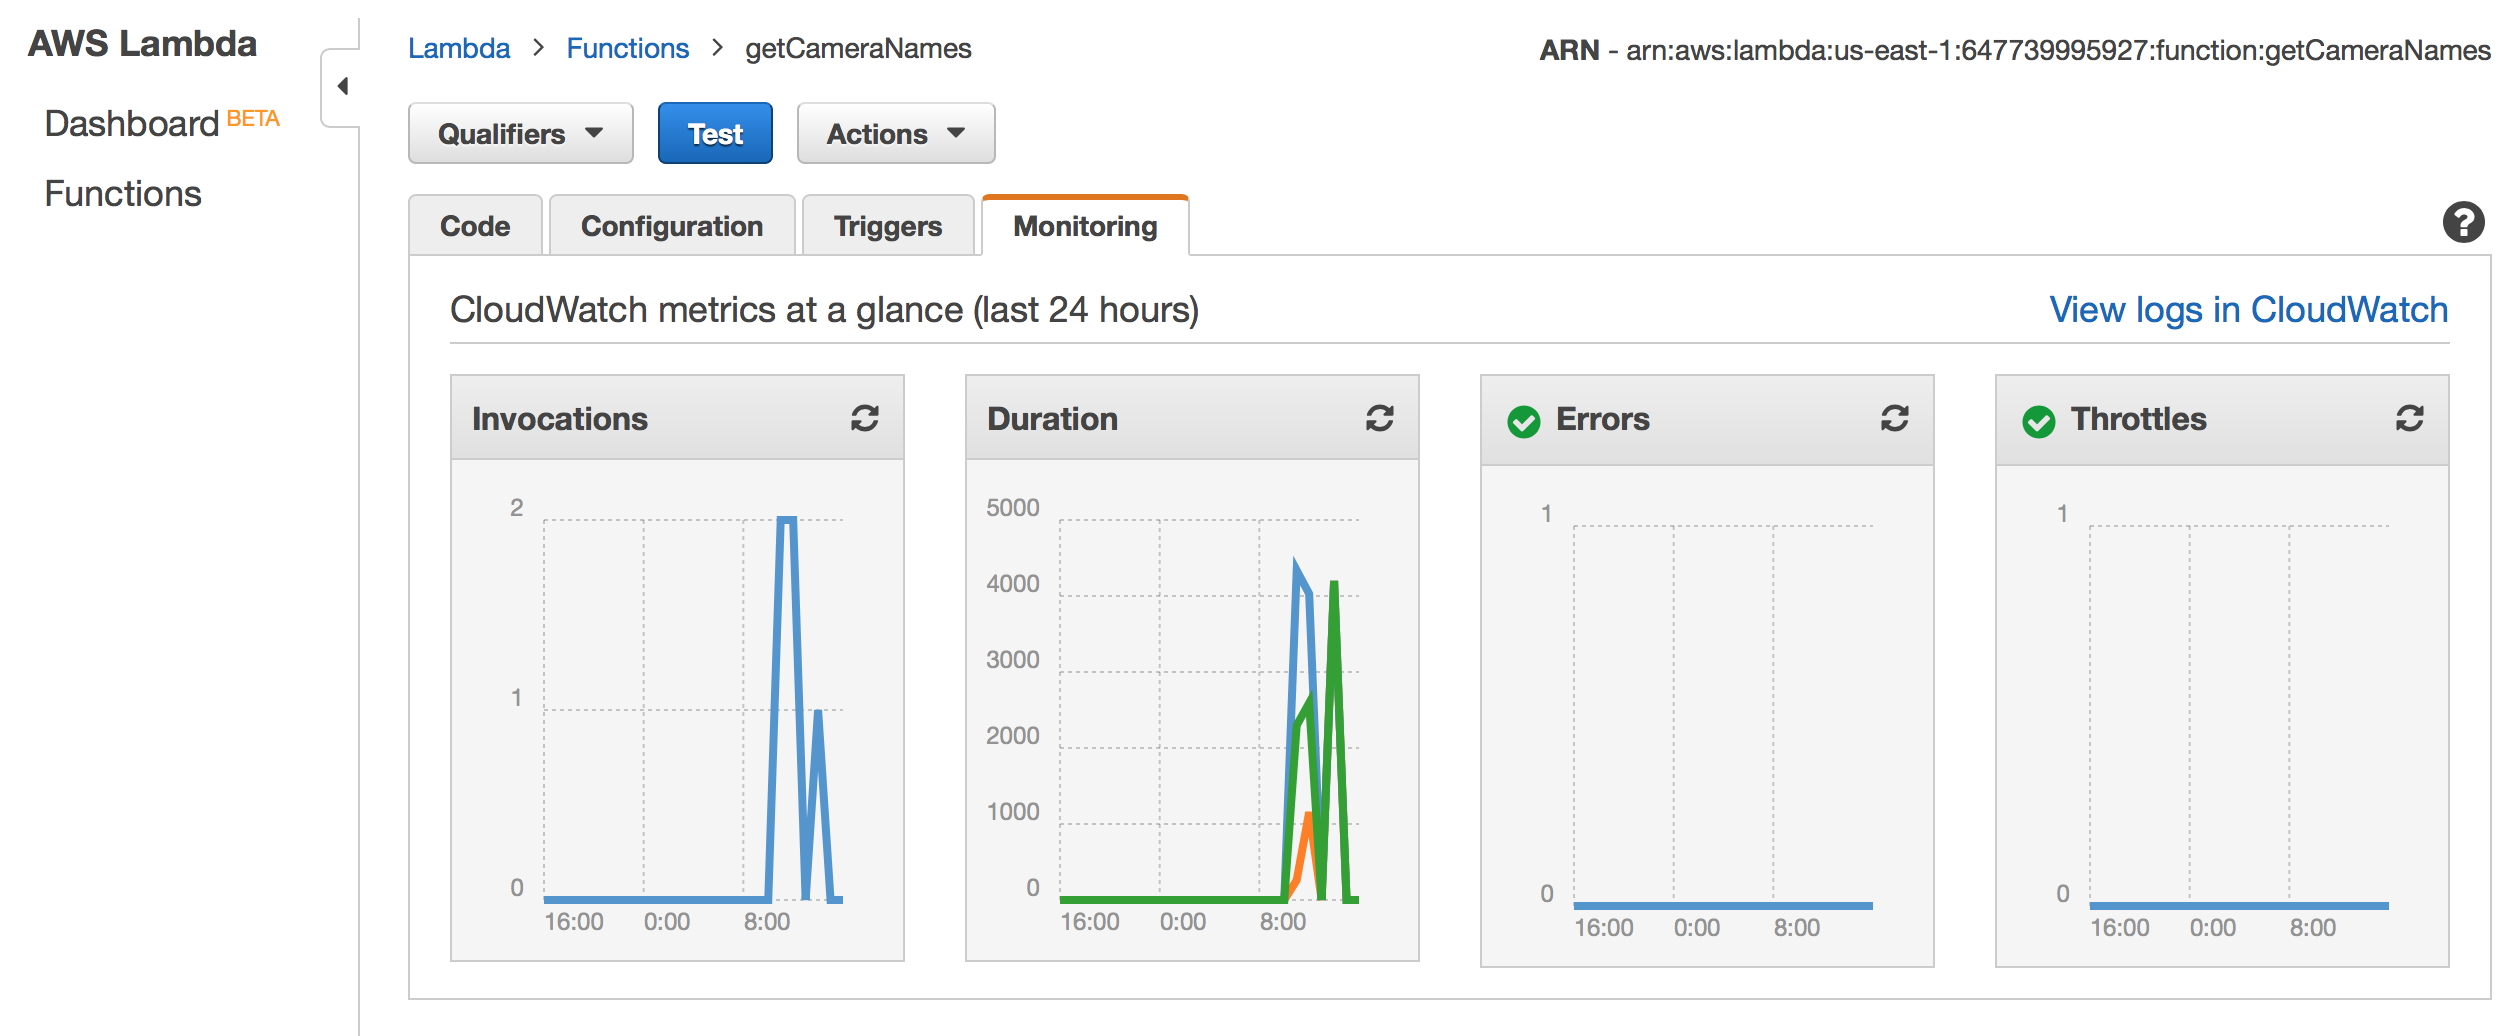
Take a look at the Lambda monitoring for each function – and you can see the raw logging information by selecting “View logs in CloudWatch” in the upper right:
S3 Static Hosting:
The web responses are very useful, but if you are having issues and need more detailed information turn on logging for the bucket in the S3 console:

Summary
You now have an end to end IoT system that is completely serverless. If you’ll recall from part one Nest would charge us $2250.00/year for cloud storage and playback. Here is my October AWS costs in the account hosting this IoT system:

The system handles ~250GB of videos per month for $18.00/month.
Complexity
Having said that, deploying this IoT system took 5 posts in this series (several of which are quite long and dense). This is without going into a lot of detail in many areas.
Conclusion
Serverless is still quite complex and requires coordination of multiple services and APIs. The benefits are clear, but significant technical complexity exists in the configuration of the disparate services.
However, the reduction in the amount of custom code required to achieve a highly scalable system is impressive. Having written these types of n-scale systems from scratch I can attest to the fact that this is much simpler and much more cost effective.
We are beginning to see frameworks – such as the aptly named serverless framework – being created which may provide benefits (and drawbacks) in the future. I’m confident that between the cloud providers (AWS, Google, Microsoft) and the framework developers we will see the complexity reduce – but this will likely only happen once clear and solid architecture patterns are developed.
If you’d like my help getting your serverless application architected, designed and built just give me a shout @ Partition Tolerance or on Twitter @briantroy.

1 comment